
How to Make a Fabric Christmas Tree: Step-by-Step Tutorial

The art of sewing is an enchanting way to express creativity and craftsmanship.
One of the joys of being a couturier is the ability to create unique and functional pieces that add beauty and comfort to our everyday lives.
In this context, the sewing pattern of “Colcha Bolo de Camadas” emerges as an intriguing and rewarding choice for anyone looking for a challenging yet rewarding project.

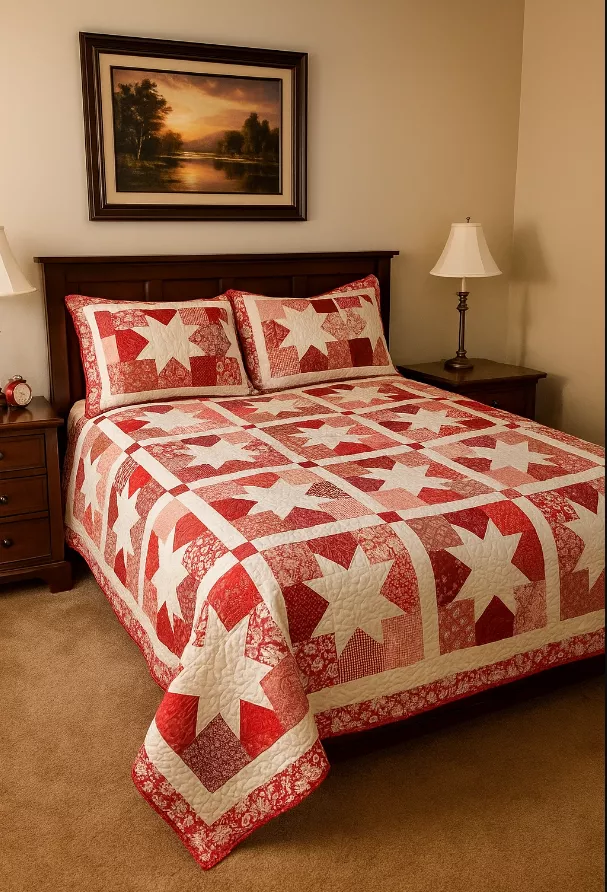
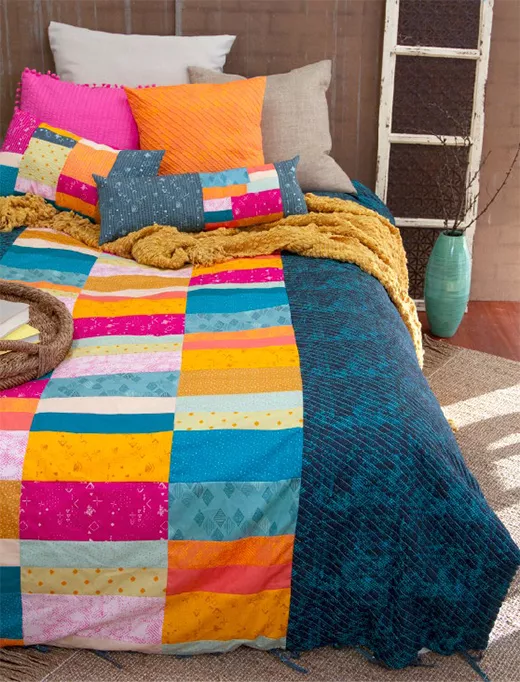
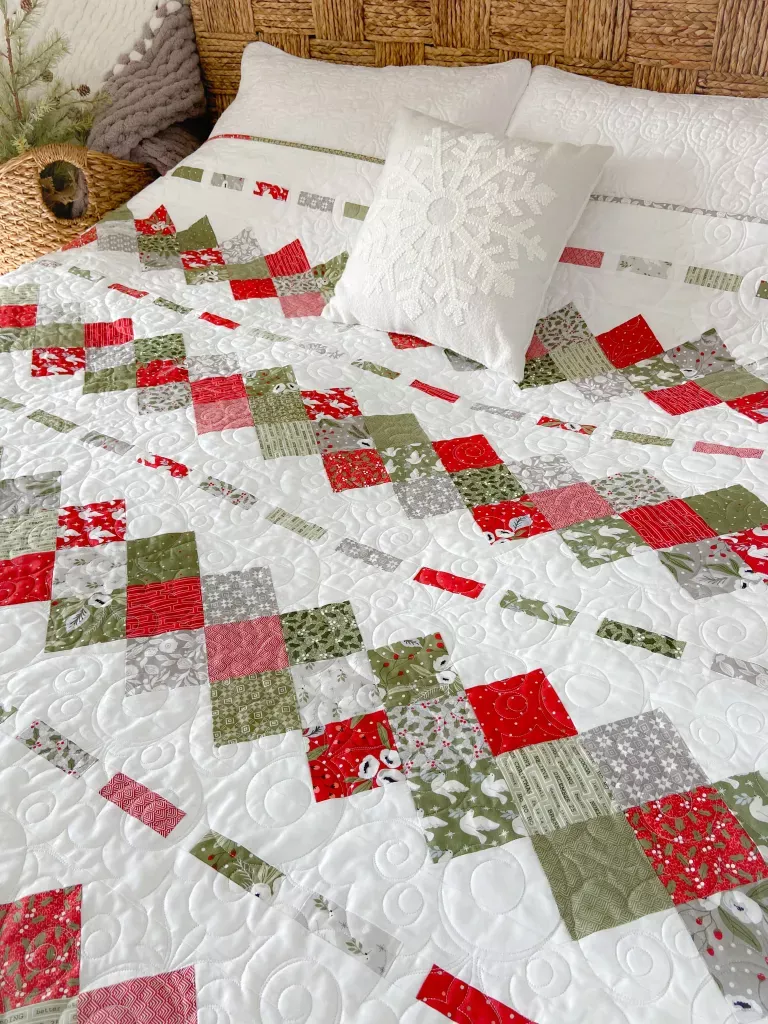
Image From Pinterest – Free Pattern
In this article, we’ll explore the process of creating this stunning layered quilt, from fabric selection to final assembly, as well as sharing a free pattern for sewing enthusiasts.
Choosing fabrics is one of the most exciting and vital parts of the Layer Cake Quilt creation process.
The idea behind this pattern is to create the illusion of a layered cake, where each “tier” of the quilt represents a different flavor and texture.
For this, it is essential to choose a variety of fabrics that contrast in patterns, textures and colors.
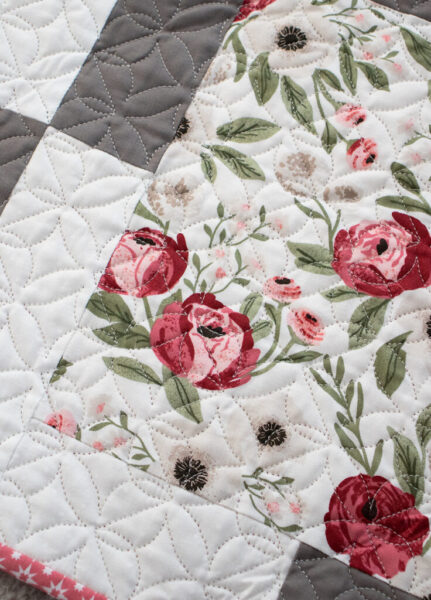
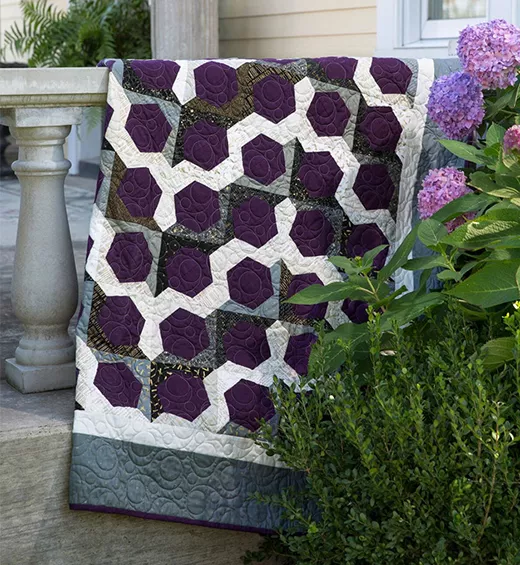
Image From Pinterest
When selecting fabrics, it is helpful to group them into categories, such as soft pastels for the upper “floors” (representing the lighter flavors of the cake) and richer, darker colors for the lower “floors” (representing the more intense flavors).
Mixing small, large, and solid patterns can create a visually appealing appearance, similar to a well-decorated slice of cake.
Once the fabrics have been selected, it’s time to prepare the materials to start sewing.
This involves washing and ironing the fabrics to ensure they are clean and wrinkle-free before cutting.
Then, using the measurements and dimensions of the pattern, carefully cut the fabrics into rectangular strips, which will later be sewn together to create the “floors” of the quilt.
Remember to leave adequate seam allowance when cutting the fabrics, usually about ¼ inch, to ensure there is room for the seams when the pieces are joined together.
Accuracy in cutting is key to ensuring that the “floors” line up correctly and the layering effect is well represented.
Assembling the “floors” is where the real magic happens.
Start by sewing the rectangular strips of fabric together to create each “floor” of the quilt.
As you go along, be sure to alternate the patterns and colors evenly so that the quilt really mimics the look of a layer cake.
To create the layered effect, it is essential to add diagonal or oblique seams between the “floors”.
This can be done by creating diagonal strips of fabric and sewing them to each “floor” of the quilt.
These bands not only add visual depth, but also help to hold the layers together more securely.
After assembling the layers and creating the desired effects, it’s time to finish the quilt.
Start by adding a lining and soft filling to provide comfort and warmth. You can opt for a lining that matches the chosen fabrics or a neutral tone that complements the entire composition.
After inserting the lining and batting, quilting the quilt to secure all the layers together. Quilting can be done by hand or machine depending on your preference and skill.
Quilting patterns like straight lines, geometric patterns or even confectionery related designs can be chosen to accentuate the layer cake theme.
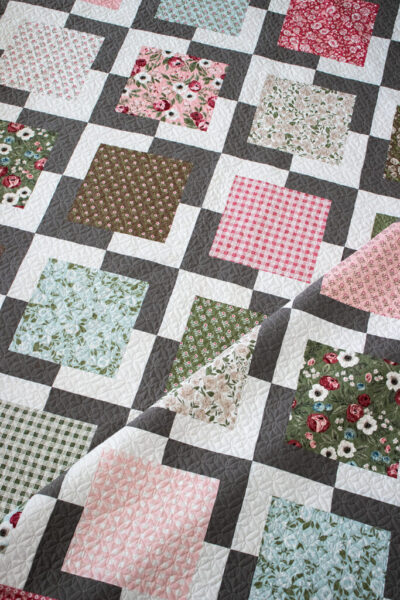
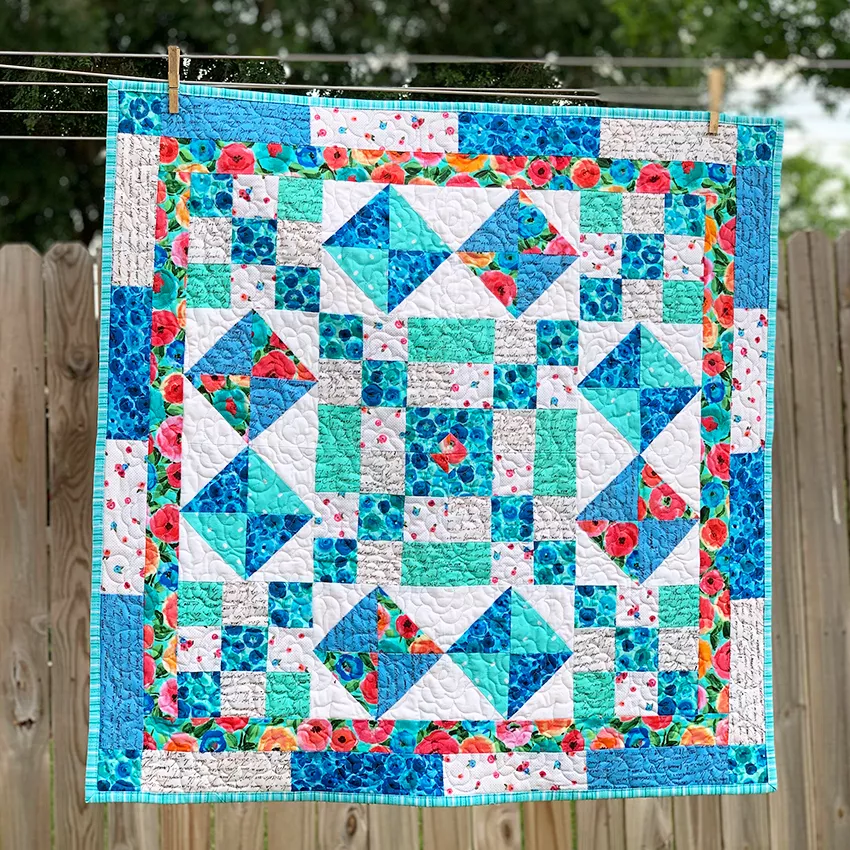
Image From Pinterest
Creating a Layer Cake Quilt is a sewing project that combines creativity, skill and passion.
From the careful selection of fabrics to assembly and final finishing, every step of the process is an opportunity to express your individuality as a couturier.
Also, by sharing the free pattern and inspiration behind this delightful quilt, we hope we’ve encouraged you to embark on your own creative sewing journey.
[activecampaign form=3 css=0]
So grab your needle, thread, and fabrics, and start creating a quilt that will not only warm your body, but warm your heart with pride and contentment.