
How to Make a Fabric Christmas Tree: Step-by-Step Tutorial

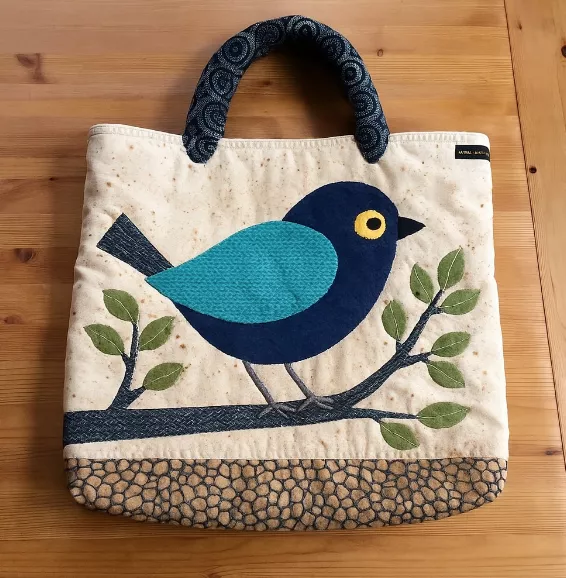
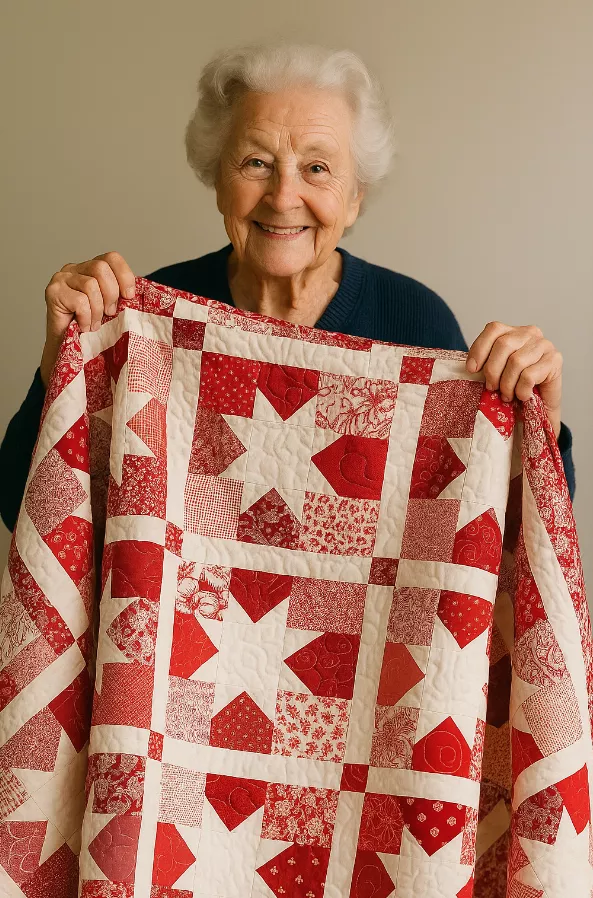
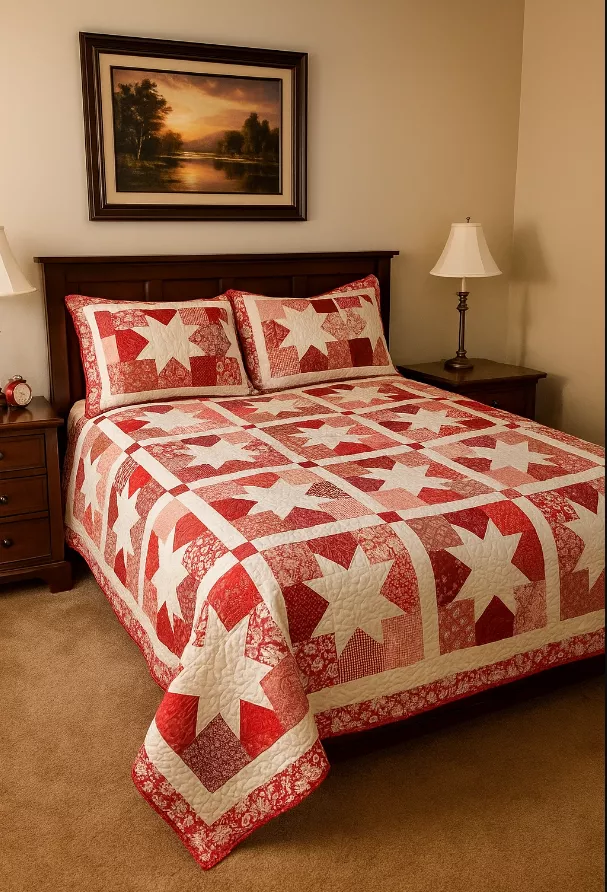
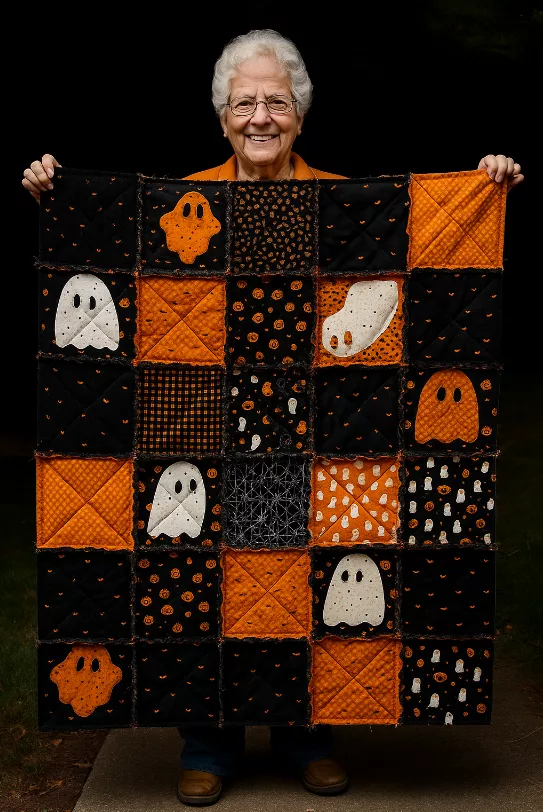
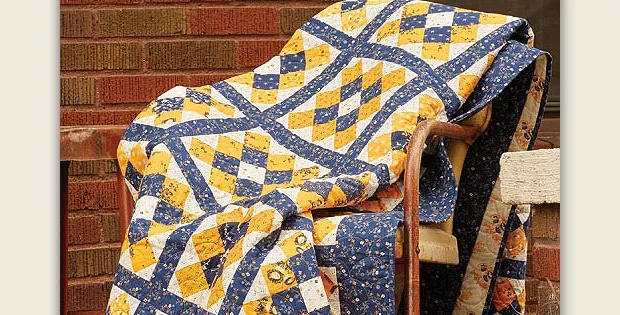
Have you ever thought about transforming an old quilt or fabric scraps into a stylish, one-of-a-kind tote bag? Besides being a sustainable way to reuse materials, this sewing project is perfect for beginners and results in a unique accessory. Check out this simple step-by-step guide to create your own quilt tote bag.
An old quilt or sturdy fabric scraps
Fabric scissors
Thread and needle (or a sewing machine)
Pins
Ruler or measuring tape
Iron
Batting (optional, for extra structure)
Select the quilt or fabric scraps you want to use. Wash, dry, and iron them so they’re smooth and easy to handle.
Cut two fabric rectangles of the same size (for example, 40 cm x 35 cm). These will be the front and back of your tote.
For durability, cut two lining or batting pieces of the same size. This will make your bag sturdier.
For a special touch, cut out and applique fabric shapes (like flowers, cats, birds, hearts). You can sew them with a blanket stitch or straight stitch.
Place the two rectangles right sides together and sew along the sides and bottom, leaving the top open.
Cut two fabric strips (about 40 cm long each). Fold them in half, sew, and turn them inside out to create sturdy handles.
Pin the handles to the top edges, then fold the top border inward and sew for a clean finish.
Press the bag with an iron to flatten the seams — and that’s it! Your quilt tote is ready to use for everyday activities or even to sell as a handmade piece.
Mix colors and prints for a cheerful, creative look.
Use thicker fabrics for extra strength.
Personalize with embroidery, buttons, or felt appliqués.

