How to Make a Fabric Christmas Tree: Step-by-Step Tutorial

The Village Quilt pattern is a beautiful expression of textile art that combines the tradition of quilting with the versatility of crochet. Inspired by the cozy and nostalgic atmosphere of small villages, this pattern offers the opportunity to create a unique and charming piece. With its intricate crochet blocks, the Village Quilt evokes the feeling of warmth and familiarity of a close-knit community, where each piece fits together harmoniously to form a cohesive whole.
Creating a quilt using is more than just a craft project – it’s a journey through traditions past and present. Each crochet block tells a story, representing a part of village life and the connection between its inhabitants. The rich detail and variety of stitches used in this pattern provide a captivating experience for crochet enthusiasts, allowing them to explore new techniques and improve their skills.
By diving into the Village Quilt pattern, crocheters have the opportunity to create a unique piece that reflects not only their craftsmanship, but also their creativity and personal style. With its combination of colors, textures and patterns, each blanket produced using this pattern is truly a unique work of art, ready to adorn any space with charm and elegance.
Plus, the Village Quilt pattern offers a great way to pay homage to craft traditions and local culture. By creating a blanket using this pattern, artisans have the opportunity to celebrate the richness and diversity of rural and urban communities, highlighting the importance of manual labor and the preservation of traditional techniques.
With its visually appealing aesthetic and detailed structure, the Village Quilt pattern is an ideal choice for those looking to embark on a rewarding and engaging project. From beginners to experienced crocheters, everyone can appreciate the beauty and intricacy of this pattern, while enjoying the process of creating a unique and meaningful piece.
Whether as a decorative piece for the home or a special gift for a loved one, a quilt made with the Village Quilt pattern is sure to delight and inspire. With its blend of nostalgia and modernity, this pattern continues to be a popular choice among crochet enthusiasts, offering a unique opportunity for creative expression and connection to artisanal tradition.
Village Quilt
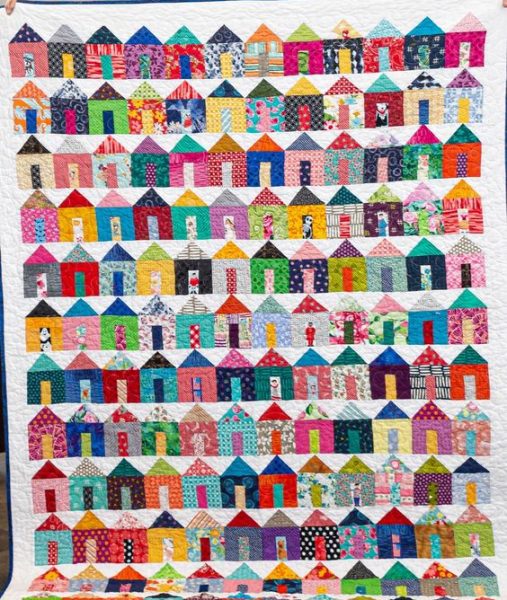
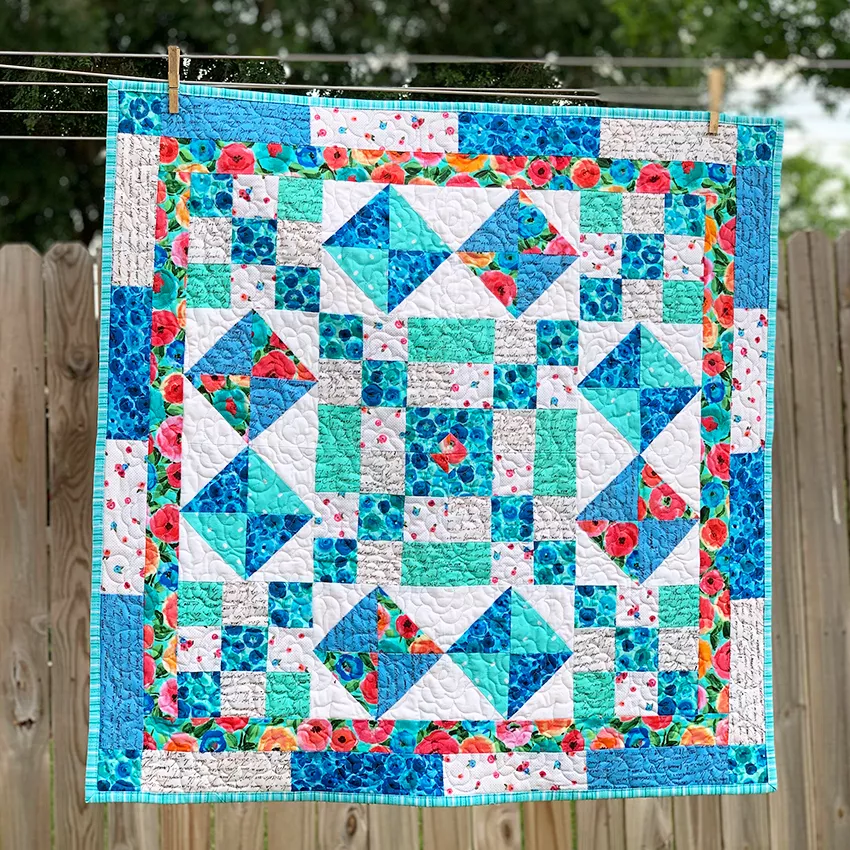
The Village Quilt is one of the most charming patchwork projects in the world. Inspired by small, colorful houses lined up like a cheerful street, it conveys coziness, creativity, and a unique handcrafted touch.
If you’ve already fallen in love with this style and want to create your own Village Quilt, this complete guide will walk you through the process — from planning to the final stitching.
🧵 What is the Village Quilt?
The Village Quilt is a patchwork made up of blocks that represent small houses. Each house is a combination of different fabrics, allowing you to play with colors, prints, and textures.
It’s perfect for:
Those who have many fabric scraps saved;
Those who love colorful quilts;
Giving someone a unique gift;
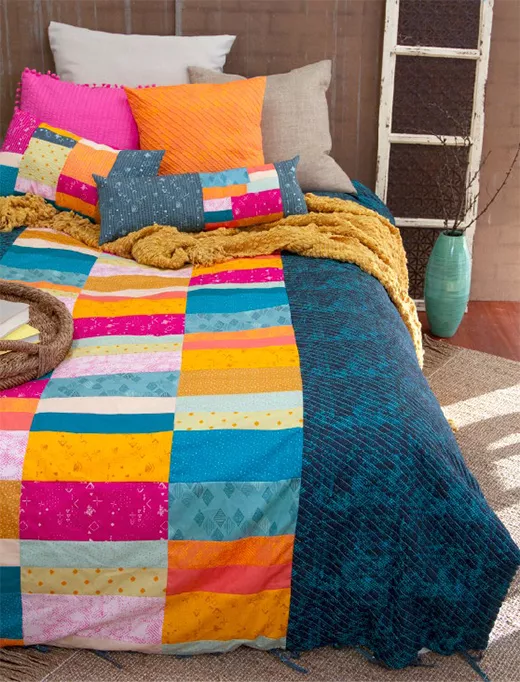
Decorating a bed, sofa, or even using it as a decorative throw.
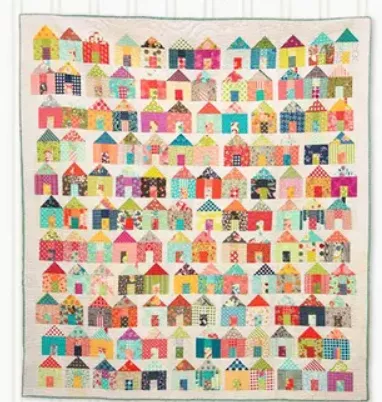
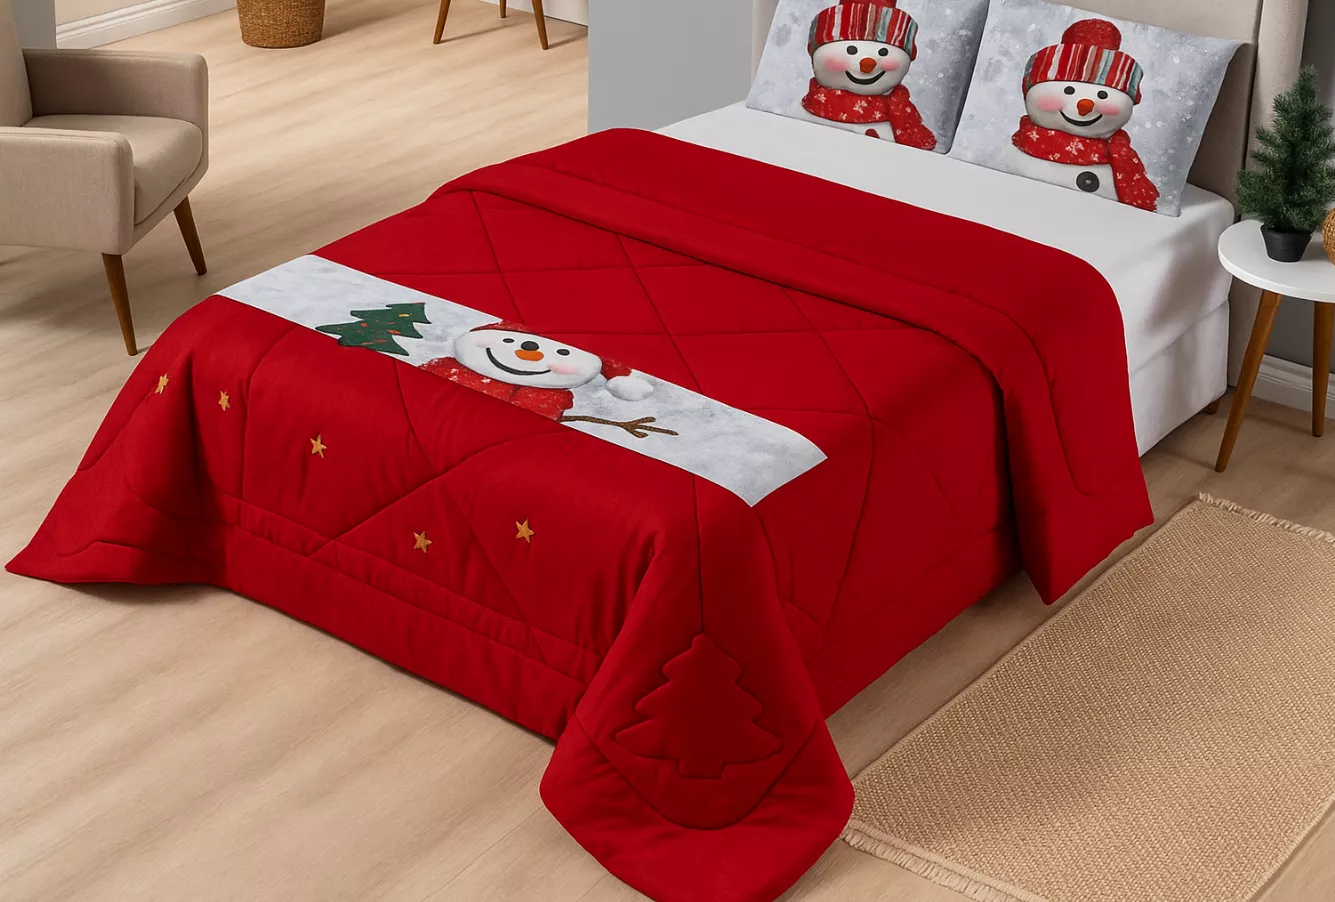
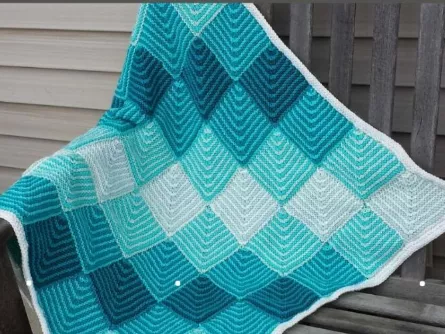
In the image used as inspiration, we see dozens of houses, all with varied colors, forming rows that resemble an entire village full of life.
Materials Needed
Fabrics
Various fabric scraps (cotton is the most recommended);
White or light-colored fabric for the background;
Fabric for the border;
Fabric for the lining;
Acrylic batting or R2 batting.
Tools
Sewing machine;
Patchwork ruler;
Round cutter or scissors;
Pins and thimble;
Iron.
Step-by-Step: How to Make a Village Quilt
1. Planning the Blocks
Each house is made up of three parts:
House wall (rectangle)
Door (smaller rectangle)
Roof (triangles or trapezoids)
In the most common model (like the one in the image), the houses have approximate measurements such as:
Wall: 12 cm x 15 cm
Door: 4 cm x 8 cm
Roof: triangles with a 12 cm base
(These measurements can be adapted according to the desired size of the quilt.)
Tip: Mix prints, strong colors, and different fabrics to give the fun effect of a “colorful little village”.
2. Cutting the Fabrics
Cut all the fabric scraps according to the desired number of houses.
Example: a double quilt can have 80 to 120 houses.
Organize:
Piles of doors
Piles of walls
Piles of roofs
This makes sewing faster.
3. Assemble the Door
Sew the door to the bottom center of the house wall.
Step by step:
Position the door in the center.
Sew with a 0.75 cm seam allowance.
Open and iron.
4. Assemble the Roof
There are several possible shapes, but the most common is:
Sew two triangles together to form a “roof” over the wall.
You can also cut a trapezoid and sew it directly.
Make sure to align the points so the block is square.
5. Close the House Block
Now you have:
Wall + door
Roof
Join the two parts with a straight stitch.
Iron to set the seams.
Repeat the process until all the blocks are formed.
6. Assemble the Rows
Arrange the blocks in horizontal rows, alternating colors to create movement.
Tip used in the image:
Each row has completely different squares, creating the cheerful and handcrafted look of the Village Quilt.
Sew the squares side by side until each row is complete.
7. Join the Rows
When all the rows are ready, sew them together.
For a beautiful finish:
Adjust the squares to align them;
Iron between each join.
You will see the village come to life row by row!
8. Apply Borders
To frame the quilt, choose a plain or softly patterned fabric.
Recommendations:
5 to 8 cm borders;
Neutral colors or colors that match the quilt.
9. Assemble the “Sandwich”
Now join the three layers:
Backing (facing the bottom)
R2 batting or acrylic batting
Quilt top (with the buttonholes)
Use plenty of pins to keep everything stable.
10. Quilting
To finish:
Straight quilting is the simplest;
Free-motion quilting (stippling) also works very well with this style.
You can quilt:
Around the buttonholes;
Between the rows;
Or with straight lines running through everything.
11. Finishing with Bias Binding
Finish by sewing the bias binding around the quilt.
It can be:
Ready-made bias binding;
Bias binding made with scraps (looks wonderful on colorful quilts).
Extra Tips to Make Your Quilt Even More Special
✨ Use scraps of old clothes to preserve memories.
✨ Use decorative buttons as door handles.
✨ Mix geometric, floral, and plain fabrics.
✨ Create “themed” houses: red house, spring house, striped house, and so on.
Conclusion
Creating a Village Quilt is much more than sewing—it’s about building a community of colors, memories, and creativity in every row. This type of patchwork is perfect for those who love cheerful projects full of personality.
CLICK HERE AND DOWNLOAD THE COMPLETE AND FREE PATTERN

