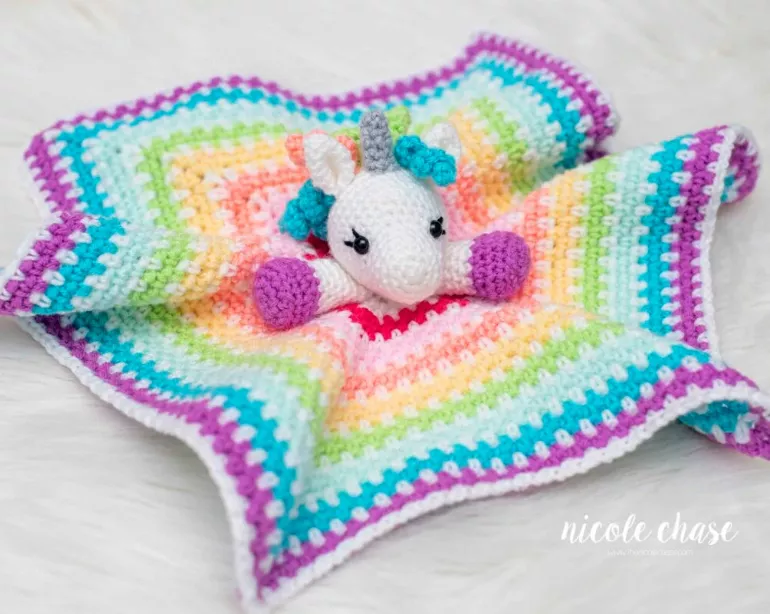
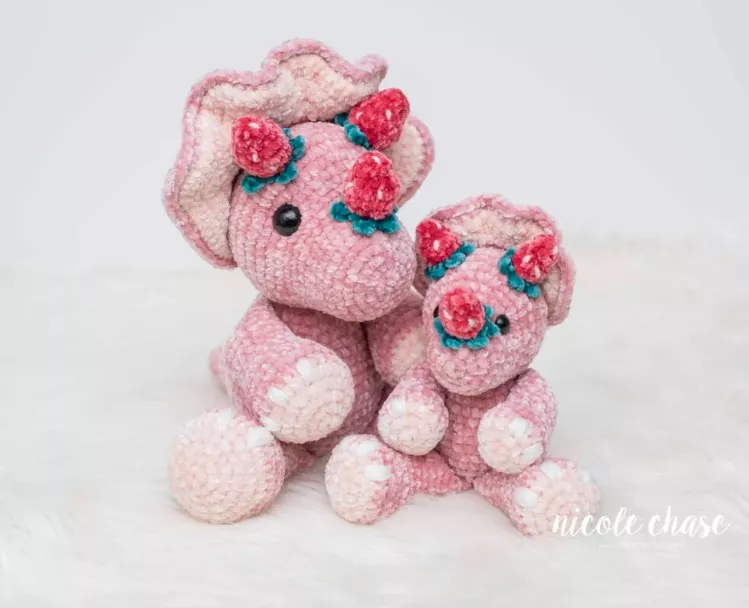
Tiny Christmas Tree

Advertising

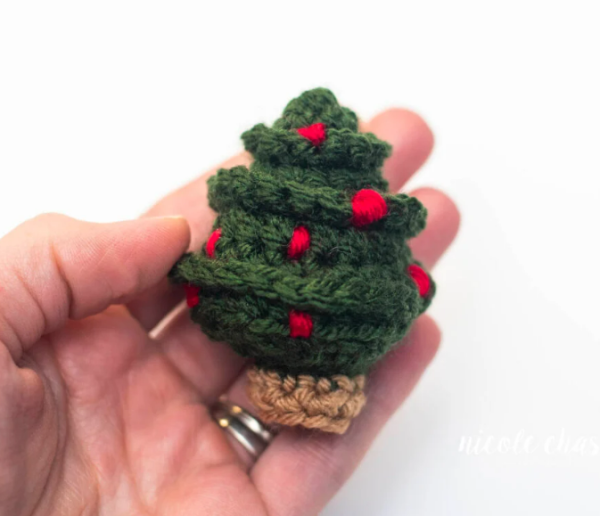
Here’s a Tiny Christmas Tree free crochet pattern! This pattern is great for making a cute little tree that can be used as a holiday decoration, an ornament, or a gift topper. The tree is quick to make and can be customized with colorful decorations.

Materials:

Abbreviations:

Tree Base (Brown Yarn):

  1. Round 1: Make a magic ring, and work 6 sc into the ring. (6)
  2. Round 2: Inc in each stitch around. (12)
  3. Round 3: (Sc in next stitch, inc) around. (18)
  4. Round 4: (Sc in next 2 stitches, inc) around. (24)
  5. Round 5: (Sc in next 3 stitches, inc) around. (30)
  6. Round 6: (Sc in next 4 stitches, inc) around. (36)
  7. Round 7: Sc in each stitch around. (36)
  8. Round 8: (Sc in next 4 stitches, dec) around. (30)
  9. Round 9: (Sc in next 3 stitches, dec) around. (24)
  10. Round 10: (Sc in next 2 stitches, dec) around. (18)
  11. Round 11: (Sc in next stitch, dec) around. (12)
  12. Round 12: Dec around. (6)
  13. Stuff the base lightly with fiberfill.
  14. FO, leaving a long tail to sew the base to the bottom of the tree.

Tree (Green Yarn):

  1. Round 1: Make a magic ring, and work 6 sc into the ring. (6)
  2. Round 2: Inc in each stitch around. (12)
  3. Round 3: (Sc in next stitch, inc) around. (18)
  4. Round 4: (Sc in next 2 stitches, inc) around. (24)
  5. Round 5: (Sc in next 3 stitches, inc) around. (30)
  6. Round 6: (Sc in next 4 stitches, inc) around. (36)
  7. Round 7: (Sc in next 5 stitches, inc) around. (42)
  8. Round 8: (Sc in next 6 stitches, inc) around. (48)
  9. Round 9-11: Sc in each stitch around. (48)
  10. Round 12: (Sc in next 6 stitches, dec) around. (42)
  11. Round 13: (Sc in next 5 stitches, dec) around. (36)
  12. Round 14: (Sc in next 4 stitches, dec) around. (30)
  13. Round 15: (Sc in next 3 stitches, dec) around. (24)
  14. Round 16: (Sc in next 2 stitches, dec) around. (18)
  15. Round 17: (Sc in next stitch, dec) around. (12)
  16. Round 18: Dec around. (6)
  17. Stuff the tree lightly with fiberfill.
  18. FO and leave a long tail to sew the tree onto the base.

Tree Trunk (Brown Yarn):

  1. Round 1: Make a magic ring, and work 6 sc into the ring. (6)
  2. Round 2: Inc in each stitch around. (12)
  3. Round 3: Sc in each stitch around. (12)
  4. Round 4: (Sc in next stitch, dec) around. (8)
  5. Round 5: Sc in each stitch around. (8)
  6. FO, leaving a long tail to sew the trunk onto the base of the tree.

Optional Decorations:


Assembly:

  1. Attach the Tree to the Base: Position the tree on top of the base and sew it into place using the tail left from the tree.
  2. Sew the Trunk: Attach the trunk to the bottom of the tree base.
  3. Add Decorations: Attach your bows, ornaments, and star to the tree.
  4. Weave in all loose ends.

Final Touches:

Now your Tiny Christmas Tree is complete! This little tree is perfect for holiday décor, a gift topper, or just a cute, festive decoration for any space. Enjoy crocheting and spreading some holiday cheer!

FREE PATTERN HERE

Advertising