
How to Make a Fabric Christmas Tree: Step-by-Step Tutorial

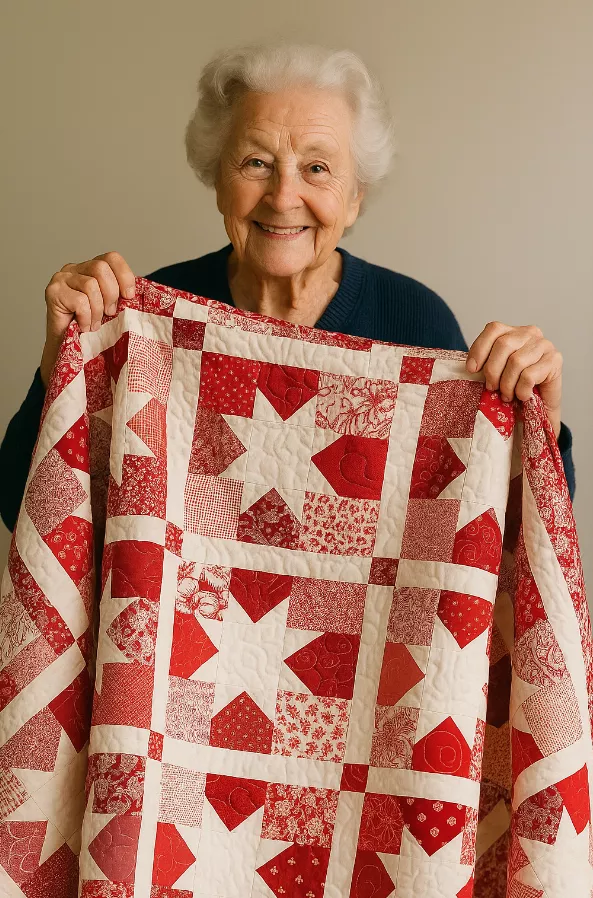
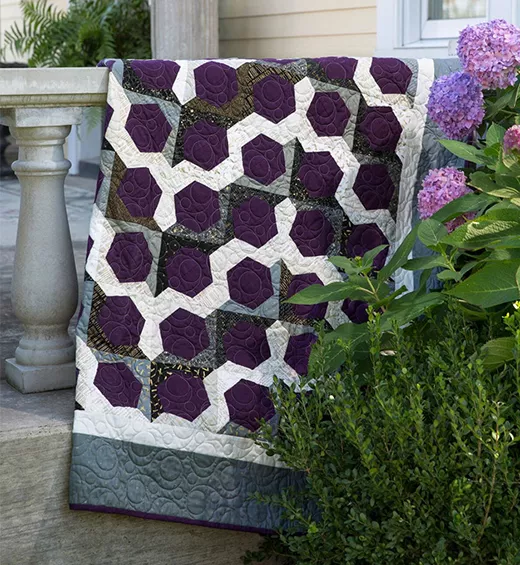
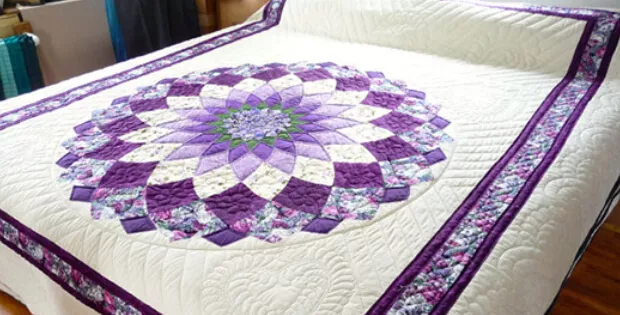
Patchwork quilts are true works of art made with fabric, combining creativity, technique, and patience in every detail. The piece in the image you saw is a charming example of how the mix of colors, geometric blocks, and floral prints can transform simple pieces of fabric into something cozy and sophisticated. If you want to learn how to make a quilt like this, follow this step-by-step guide I prepared especially for you.

See also other free patterns here ➡ 📲🧵🧶
Materials Needed
Before you begin, it’s important to gather your materials. Here’s the basic list:
100% cotton fabrics in various colors and prints (florals, solids, and neutrals).
Patchwork ruler and circular cutter (or very sharp scissors).
Cutting mat (if possible, it makes things much easier).
Cotton thread in your preferred color.
Sewing pins or clips.
Sewing machine (can be done by hand, but a sewing machine makes things much faster).
Acrylic batting (for stuffing the quilt).
Lining fabric (for the back).
Iron.
Step 1: Choosing a Design
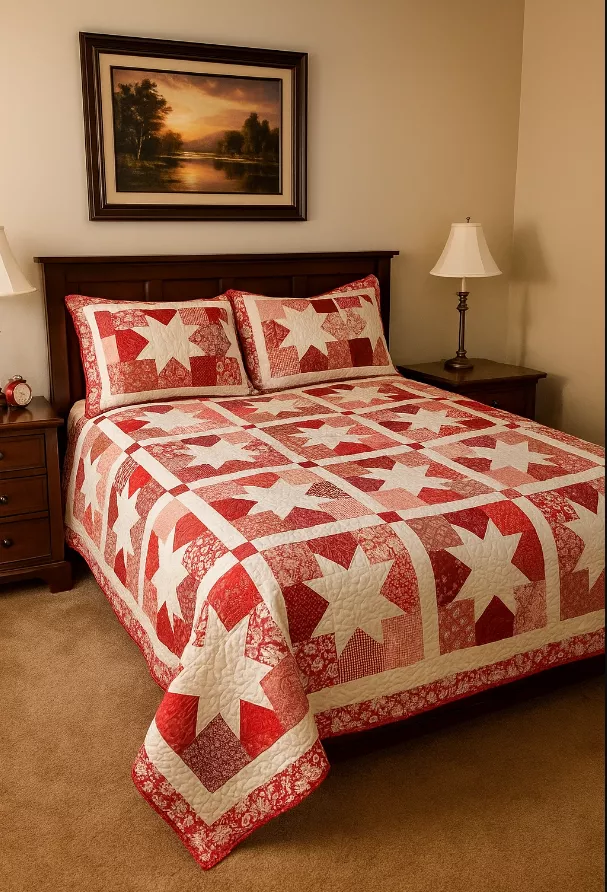
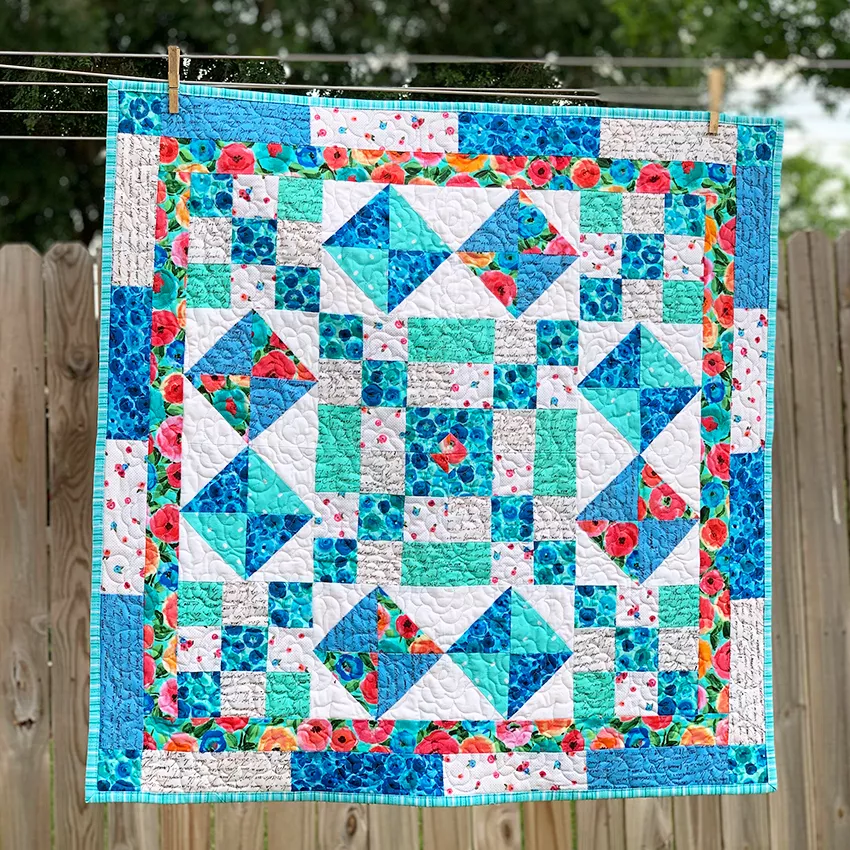
The quilt in the image has a geometric pattern made up of square and triangle blocks. This style is very common in patchwork, known as “traditional blocks,” and creates a harmonious color scheme.
Tip: Choose 3 to 5 different fabrics that coordinate well—for example, floral prints, solid fabrics in shades of blue or green, and light fabrics for balance.
Step 2: Cutting the Fabrics
The secret to a good quilt is precise cutting. Follow these measurements as a guide:
Small squares: 10 x 10 cm
Triangles: Cut 12 x 12 cm squares and divide them in half diagonally.
Larger squares: 20 x 20 cm
Organize the cuts in separate stacks to avoid loss.
Step 3: Assembling the Blocks
Take four small squares and sew them together to form a 2×2 block. Iron to set the seams.
For triangles, join two blocks of different colors together to form a square. This block is known as a “half-square-triangle” (HST).
Mix 2×2 blocks with triangle blocks and larger squares to create geometric designs.
Tip: Before sewing, lay out the pattern on the floor or a table to visualize how the colors fit together.
Step 4: Joining the Blocks
With all the blocks ready, begin joining them in horizontal rows. Sew each row and then join them together to form the quilt top. Iron well between each join to keep the piece flat and aligned.
This is where your quilt will begin to take shape and the visual pattern will become evident.
Step 5: Quilt Assembly (Fabric Sandwich)
Now let’s assemble the famous “quilt sandwich”:
Lay the lining fabric on the floor, right side down.
Place the acrylic batting on top, leaving a little overhang at the edges.
Finally, position the quilt top (the part with the blocks) right side up.
Align all layers well and secure with pins or temporary seam spray.
Step 6: Quilting
Quilting is the stitching that joins all the layers together. You can make straight lines, sew around the blocks, or opt for free-form designs, such as curves and waves. In the quilt pictured, you can see wavy quilting, which adds texture and movement to the piece.
If you’re a beginner, start with straight lines, using your ruler as a guide.
Step 7: Finishing (Biasing)
With the quilt quilted, it’s time to finish:
Cut 6 cm wide strips of fabric for the bias.
Sew the strips together to form a roll long enough to wrap around the entire quilt.
Fold in half lengthwise and iron.
Sew the bias tape to the edges of the quilt, first on the right side, then turn it to the wrong side and finish.
This detail adds extra charm and gives the piece a professional finish.
Extra Tips
Planning is essential: draw the pattern on paper before cutting the fabrics.
Balanced colors: combine vibrant patterned fabrics with neutral fabrics to avoid clutter.
Quilt size: adjust the number of blocks according to the size of the bed (single, double, or queen).
Personalization: add extra borders with different fabrics, as in the quilt pictured, which has a floral frame that further emphasizes the geometric center.
See also other free patterns here ➡ 📲🧵🧶
Conclusion
Making a patchwork quilt is much more than sewing fabrics: it’s putting your creativity to work, combining colors, shapes, and textures into a unique piece that can be used in your home or even sold as a handmade product. The quilt in the image shows how simple blocks can create an incredible visual effect, and with this step-by-step guide, you’ll have all the tools to create your own.

