
How to Make a Fabric Christmas Tree: Step-by-Step Tutorial

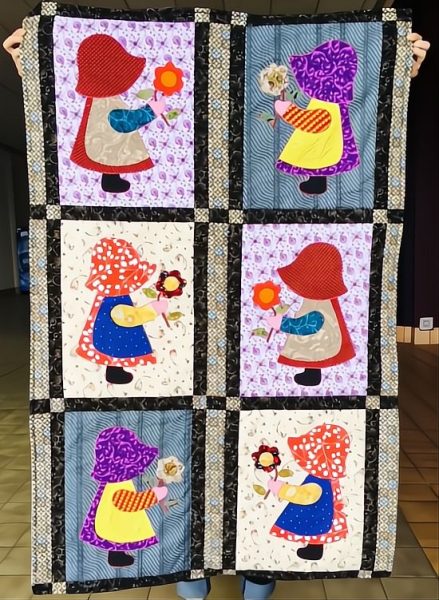
Tutorial on How to Make a Sunbonnet Quilt
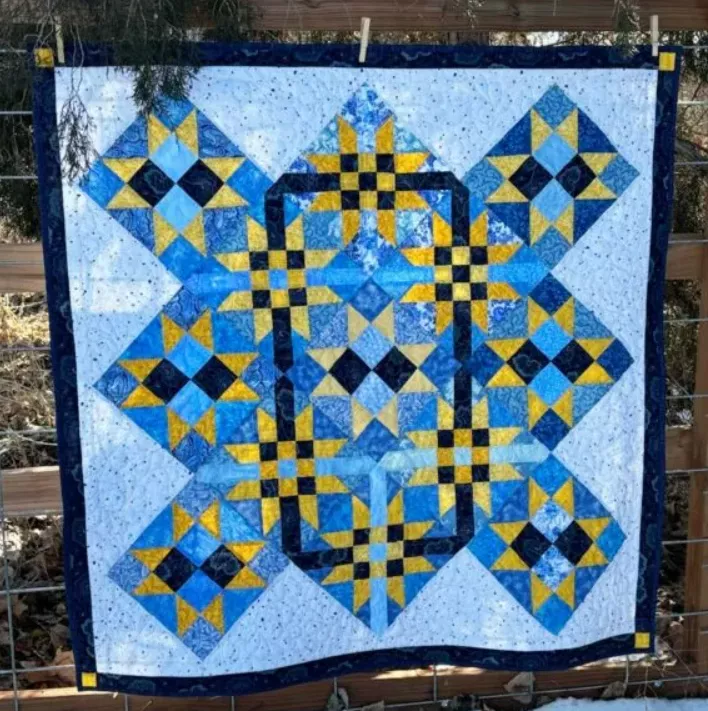
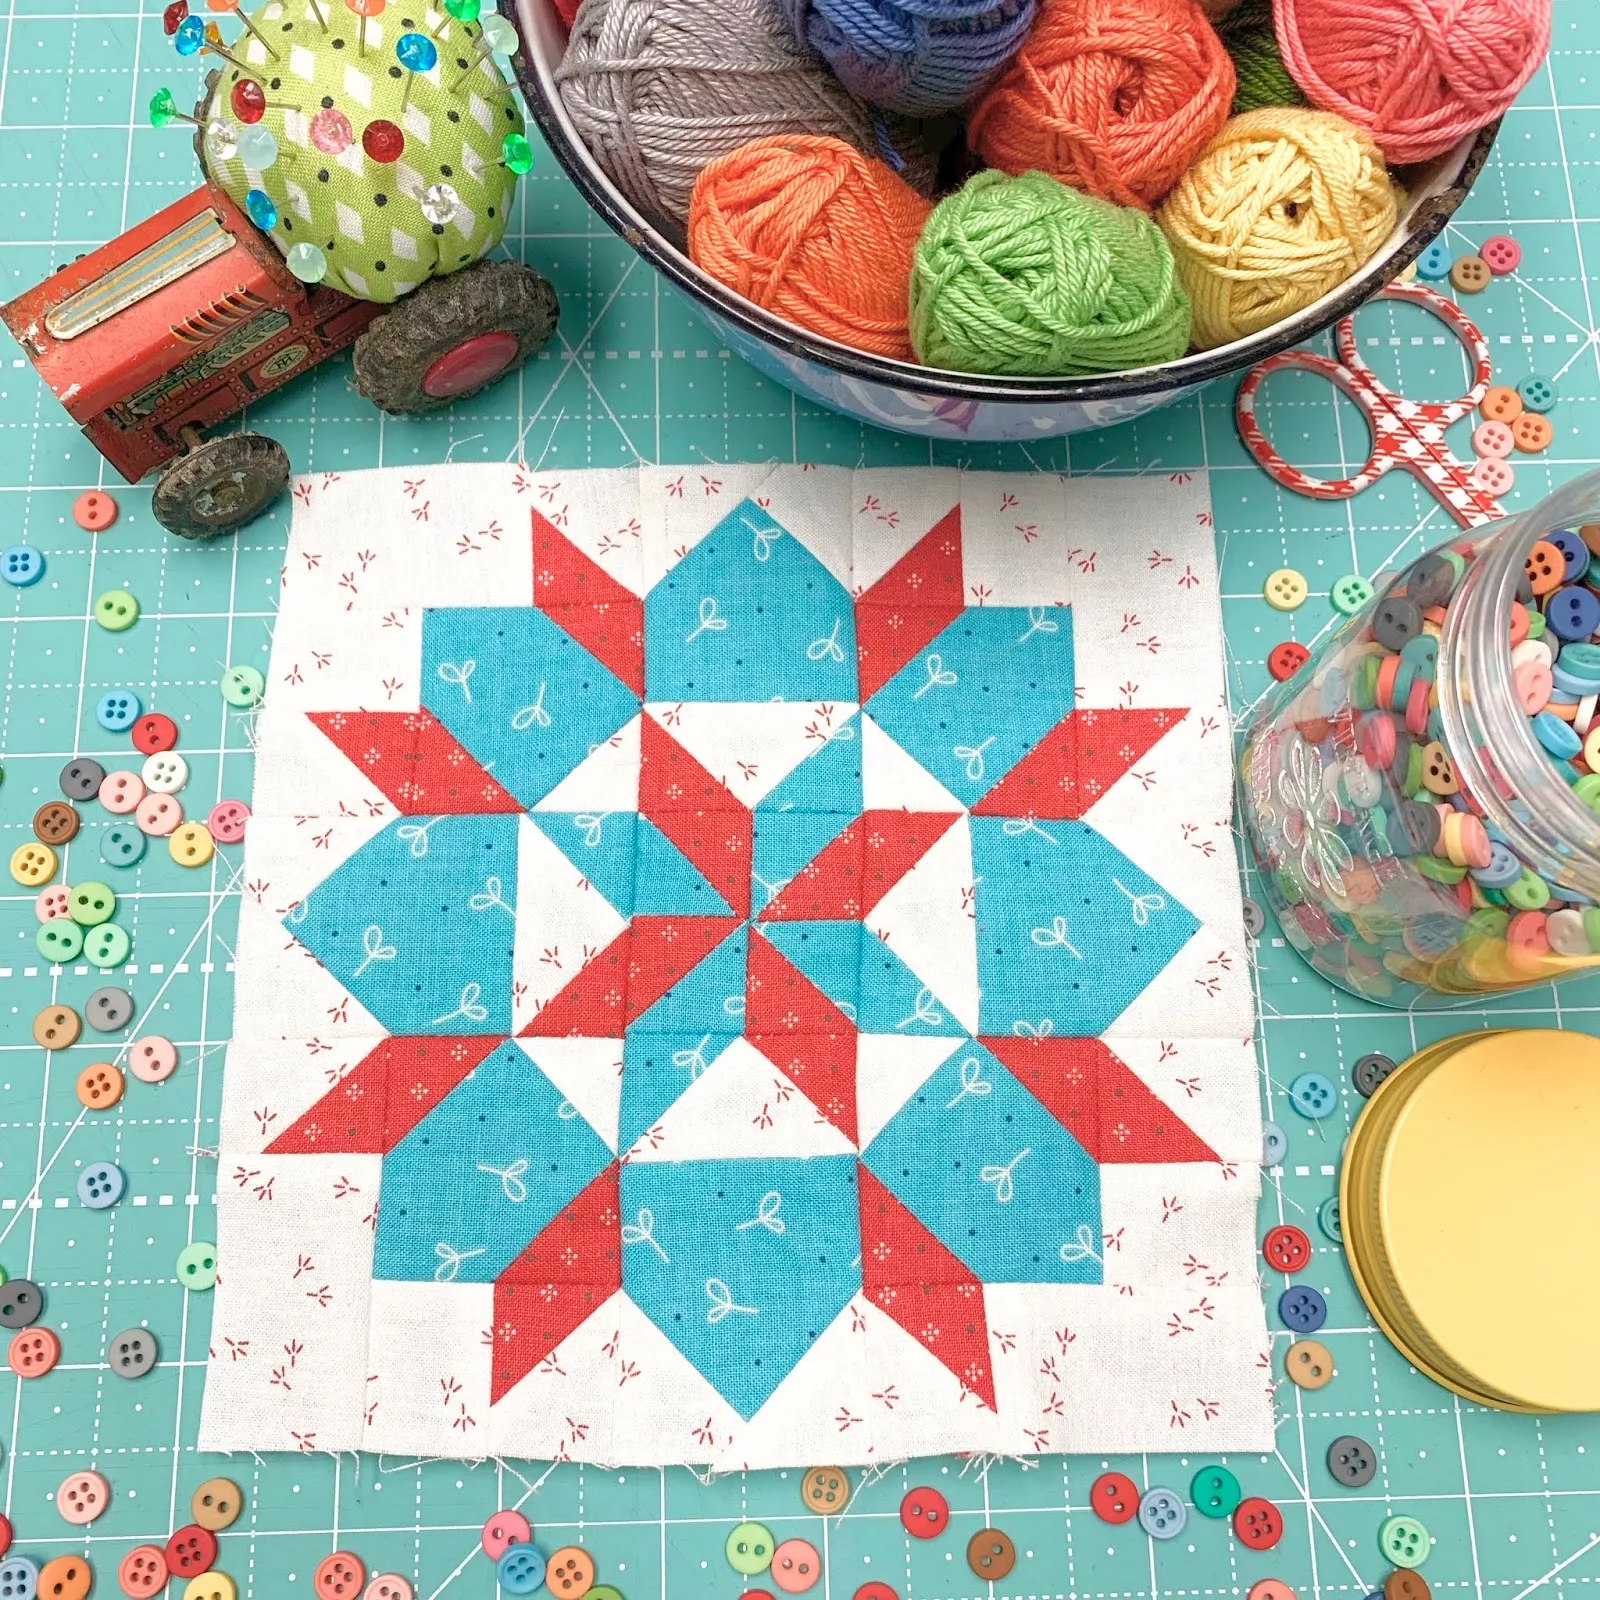
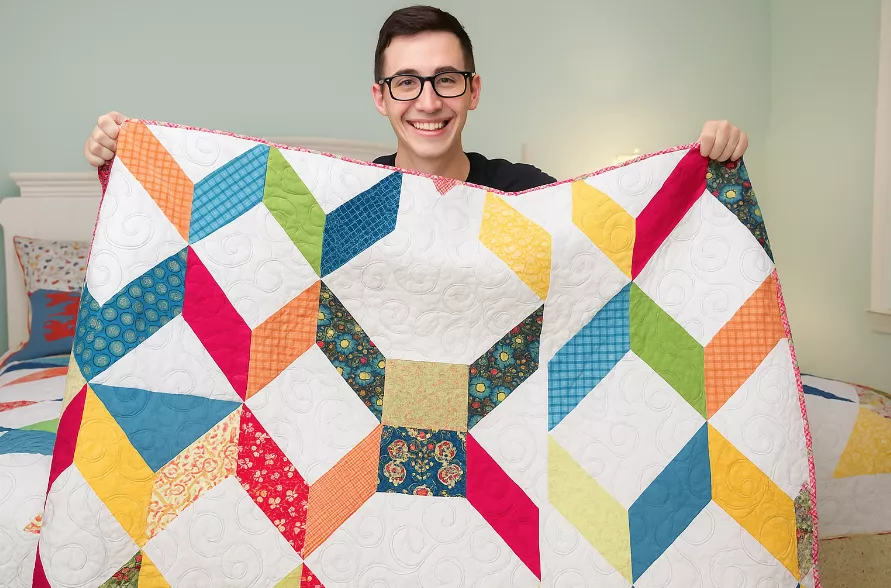
A Sunbonnet Quilt is a type of quilt that features a popular pattern of girls wearing sunbonnets. It’s a charming, traditional quilting project that can be customized in many ways. In this tutorial, we will guide you through the basic steps to create your own Sunbonnet Quilt.
Necessary materials:
Step by step
1. Preparing the Materials
Choose fabrics: Select colorful and patterned fabrics for the girls and their hats. Choose a neutral or light-colored fabric for the background of each quilt block.
Cut the fabrics: Cut the fabrics according to the size of the blocks you want for your quilt. Typical block sizes are 8×8 or 10×10 inches, but this can vary by project.
2. Creating the Sunbonnet Appliques
Draw the pattern: Using the Sunbonnet pattern, draw the different parts (body, hat, dress) on the iron-on paper if using the appliqué technique.
Cut the appliqués: Cut the fabric appliqués according to the pattern. If you are using iron-on paper, follow the manufacturer’s instructions for applying it to fabrics before cutting.
3. Assembling the Blocks
Position the appliqués: Place the Sunbonnet appliqués on the base fabric, adjusting until you are satisfied with the arrangement.
Attach the appliqués: Use pins to hold the appliqués in place, or if you are using iron-on paper, adhere them to the base fabric.
Sew the appliqués: Use a zigzag stitch or straight stitch to sew around the appliqués, securing them to the base fabric. Choose a color-coordinated thread for a more professional finish.
4. Assembling the Quilt
Assemble the blocks: Once you’ve prepared all of your Sunbonnet blocks, arrange them in a layout that appeals to you.
Sew the blocks: Sew the blocks together, forming rows. Then sew the rows together to form the quilt top.
Add borders: If desired, add borders around the top of the quilt for additional finishing.
5. Assembling the Quilt
Prepare the batting and lining: Cut the batting and lining fabric so that they are slightly larger than the quilt top.
Assemble the quilt sandwich: Layer the backing, batting, and quilt top, ensuring everything is smooth and wrinkle-free. Secure the layers with safety pins.
6. Quilting
Quilt the sandwich: Use a sewing machine or hand quilt to sew through the three layers, keeping everything in place. You can quilt around the appliqués, in geometric patterns or any other design you prefer.
Remove pins: After completing quilting, remove all safety pins.
7. Finishing the Quilt
Trim the edges: Trim the excess edges of the batting and backing so that they are flush with the top of the quilt.
Add the bias: Cut strips of fabric for the bias, sew them together, then sew the bias around the edges of the quilt to finish.
Final Tips
Personalize: Add custom details like embroidery or extra appliqués for a special touch.
Take good care of the quilt: Hand wash or use a delicate cycle on the washing machine to preserve the quality of the quilt.
Creating a Sunbonnet Quilt is a rewarding project that combines tradition and creativity. With patience and attention to detail, you will have a beautiful quilt that can become a family heirloom. Good luck and happy quilting!

Pinterest Image
Pinterest Image

Pinterest Image
