Bedspreads are versatile decor pieces that can completely transform a room’s ambience. In addition to their practical functionality, they also serve as a form of artistic expression.
If you are a craft enthusiast and want to create a unique and cozy quilt, the String Block quilt pattern is an excellent choice.
In this article, we’ll explore this fascinating pattern, providing detailed instructions for creating your own String Block quilt, all free of charge.
What Is String Block Quilt Pattern?
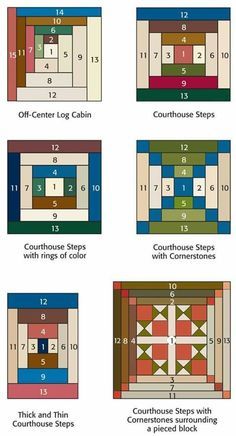
The String Block quilt pattern, also known as a “String Quilt”, is a patchwork project that uses strips of fabric in different colors and patterns to create a rope block effect.
These blocks are then sewn together to form a charming, vibrant quilt. The technique is known for its versatility, allowing artisans to explore their creativity with different combinations of colors and prints.
Necessary materials
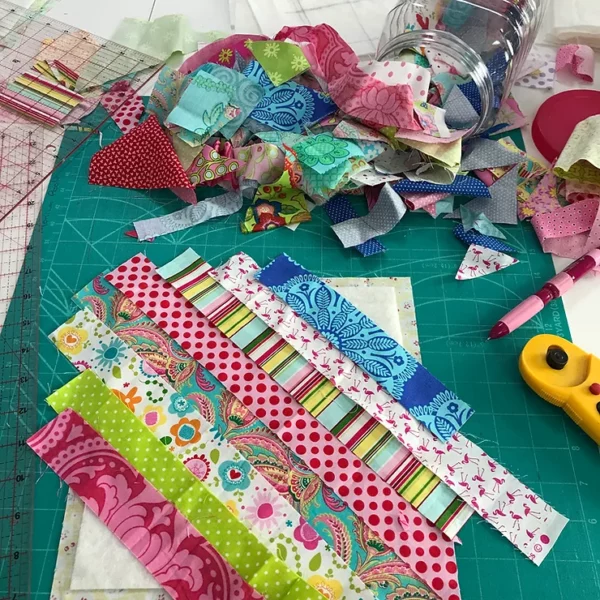
Before you begin your String Block quilt project, it’s important to make sure you have all the necessary materials on hand.
Here is a list of the materials you will need:
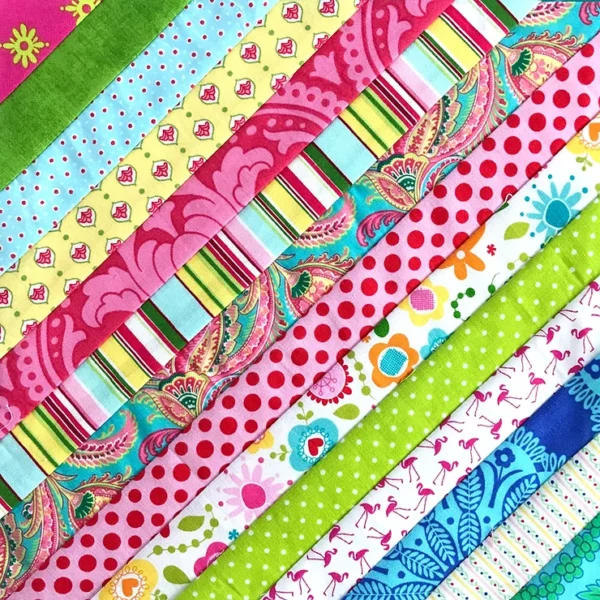
Fabric: You will need a variety of fabrics in different colors and patterns. Make sure the fabrics you choose go well with each other and reflect the style you want for your quilt.
Sewing Machine: A sewing machine is essential for sewing fabric strips together efficiently and evenly.
Scissors: Sharp scissors are needed to cut the fabrics to the desired size.
Ruler and Rotary Cutter: These are useful for measuring and cutting fabric strips precisely.
Cutting Mat: A cutting mat is a flat, self-healing surface that protects your work surface and facilitates precise cutting of fabrics.
Pins: Sewing pins are needed to secure the fabric strips together before sewing them together.
Design Plan: It’s a good idea to have a design plan or outline in mind for arranging the fabric strips according to your desired pattern.
Thread and Needle: You will need high quality sewing thread that matches your fabrics, as well as needles suitable for your sewing machine.
Iron: An iron is important for pressing the seams and ensuring the quilt lays flat and neatly finished.
Batting and Fabric for the Backing: You will need batting for the quilt filling and fabric for the backing.
Step by Step to Create Your String Block Quilt
Now that you’ve gathered all the necessary materials, let’s follow the step-by-step process to create your own String Block quilt:
Step 1: Cut the Fabric Strips
The first step is to cut the fabric strips that will be used to create the rope blocks. You can vary the width of the strips to suit your preference, but a common width is 1-2 inches. Be sure to cut strips of different colors and patterns to add variety to your blocks
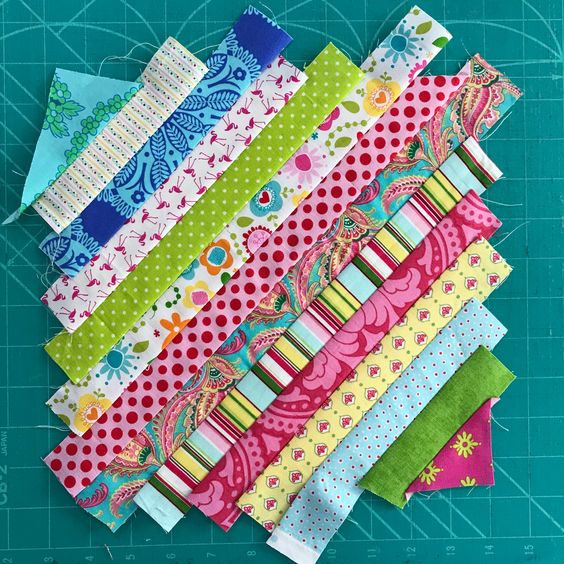
Step 2: Arrange the Strips
Before starting to sew, arrange the fabric strips according to the desired pattern. This will allow you to get an overview of the quilt design before you start putting it together.
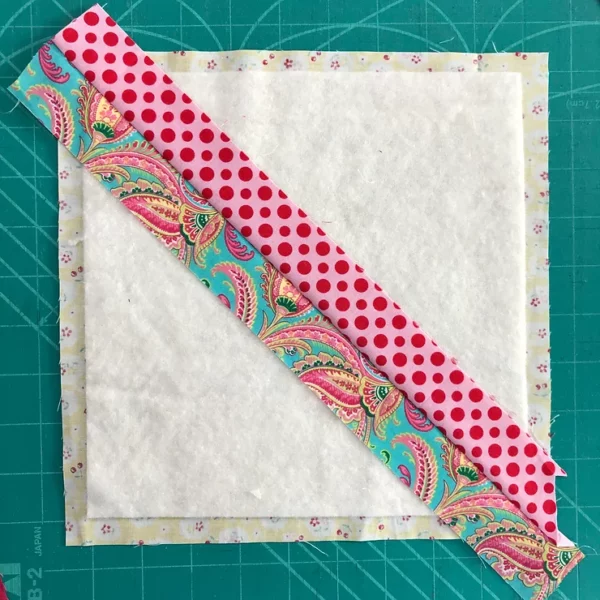
Step 3: Sew the Strips
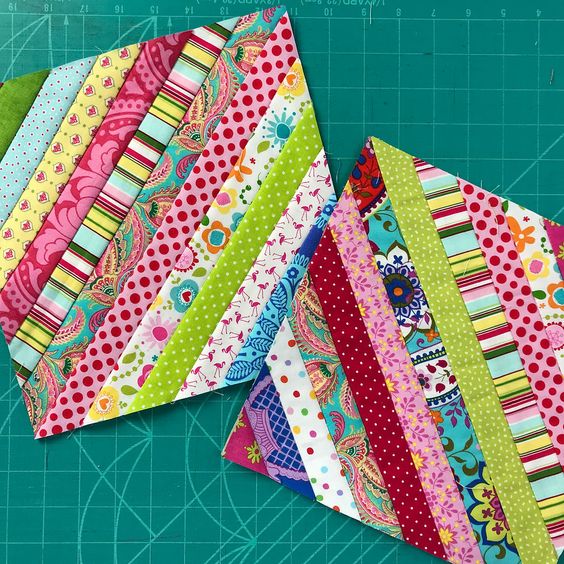
Now it’s time to start sewing the fabric strips together. Remember to keep the edges lined up as you sew. You can sew the strips together in a specific pattern or randomly, depending on the look you want to achieve.
Step 4: Pressing the Seams
After sewing the strips together, it is important to press the seams with an iron. This will ensure that the seams lie flat and that the quilt has a professional appearance.
Step 5: Cut the Blocks
After attaching all the fabric strips, cut the rope blocks to the desired size. Blocks can be square or rectangular depending on your project.
Step 6: Assemble the Quilt
Now, it’s time to assemble the quilt. Arrange the rope blocks according to the planned design and sew them together to form the top of the quilt.
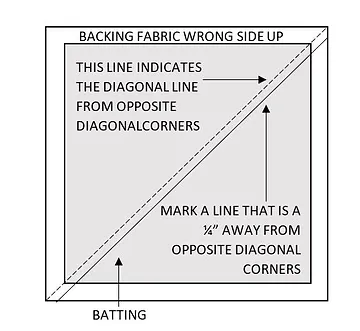
Step 7: Add Batting and Coating
Place the padding (batting) between the top of the quilt and the backing fabric. Be sure to pin them together with pins so they are taut.
Step 8: Quilting (quilting)
Quilting is the process of sewing the three layers together to hold the quilt in place. You can choose to do machine or hand quilting depending on your preference and skill.
Step 9: Finishing
After quilting, trim the edges of the quilt and add the desired finish, such as a border or bias. Make sure all loose threads are trimmed.
Step 10: Wash and Enjoy!
Finally, wash your String Block quilt so it is soft and ready to use. After that, just enjoy your cozy work of art!
Creating a String Block quilt is a rewarding activity that allows you to explore your creativity and produce a unique piece of decor.
With this free pattern and the right materials, you can bring to life a colorful and cozy quilt that will become a highlight in any bedroom.
Remember to customize your project according to your color and print preferences, making it truly yours.
Now that you have the necessary instructions, get to work and start creating your own String Block quilt today!