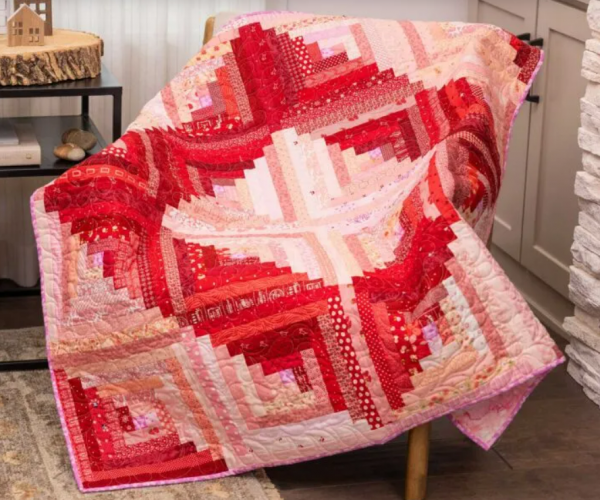
Quilting enthusiasts always seek projects that are both challenging and rewarding, and the Scrappy Little Diamond Throw Quilt Pattern perfectly fits this description. This pattern is a delightful combination of creativity and skill, ideal for using up fabric scraps and transforming them into a beautiful throw quilt. With its intricate diamond design and vibrant colors, this quilt is sure to become a cherished piece in your home or a thoughtful handmade gift. In this article, we will explore the features of the Scrappy Little Diamond Throw Quilt Pattern, the materials needed, and a step-by-step guide to creating your own stunning quilt.
Features of the Scrappy Little Diamond Throw Quilt Pattern
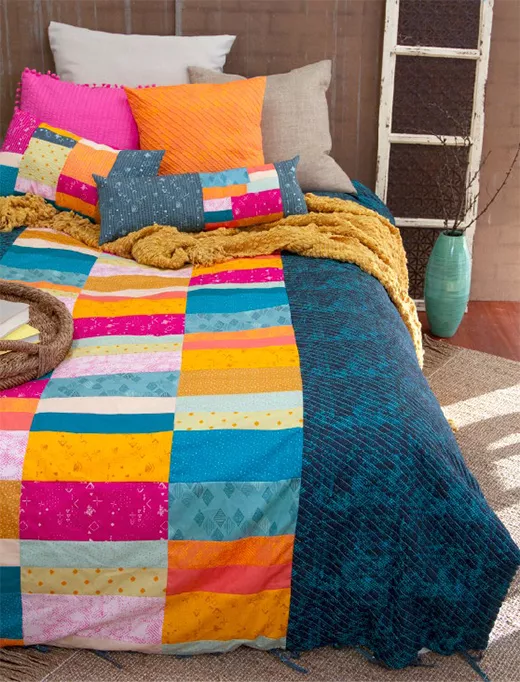
The Scrappy Little Diamond Throw Quilt is designed to be both visually striking and enjoyable to make. Here are some of its standout features:
- Versatile Design: The diamond pattern is versatile and allows for a variety of fabric combinations, making it a great project for using up fabric scraps. Each diamond can showcase a different fabric, creating a unique and colorful quilt.
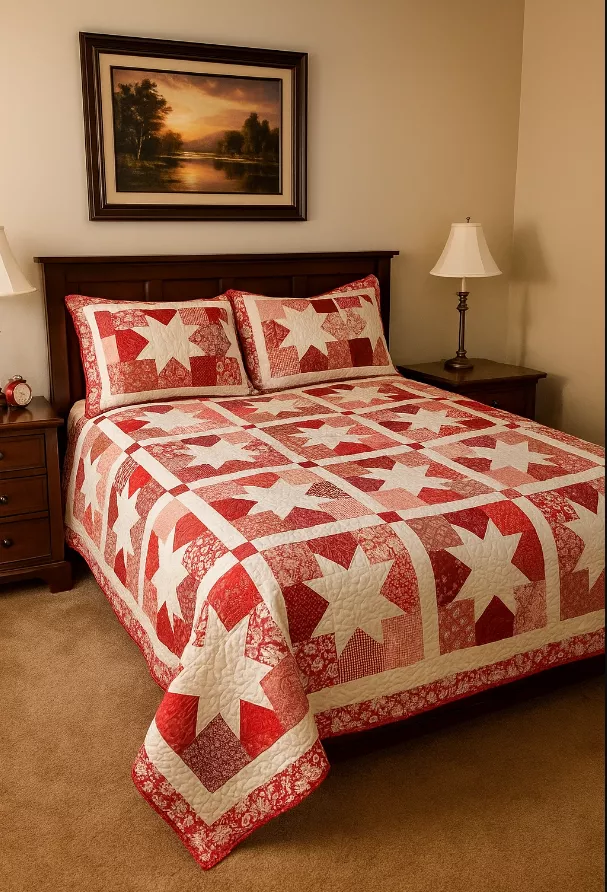
- Intricate and Eye-Catching: The diamond shapes create an intricate design that is both eye-catching and sophisticated. The geometric pattern adds depth and interest, making the quilt a standout piece in any room.
- Customizable Size: While the throw size is perfect for a cozy addition to your living room or bedroom, the pattern can be easily adjusted to create larger or smaller quilts depending on your needs.
- Skill-Building: This pattern is ideal for quilters looking to build their skills. The precision required for cutting and piecing the diamonds helps improve accuracy and technique.
Materials Needed
To create the Scrappy Little Diamond Throw Quilt, you will need the following materials:
- Fabric Scraps: A variety of colorful fabric scraps, preferably in coordinating colors and patterns.
- Background Fabric: A solid or subtly patterned fabric for the background to make the diamonds pop.
- Batting: High-quality batting for the quilt’s interior.
- Backing Fabric: Fabric for the back of the quilt.
- Binding Fabric: Fabric for the quilt’s binding.
- Cutting Tools: Rotary cutter, quilting ruler, and cutting mat.
- Sewing Machine: A reliable sewing machine for piecing and quilting.
- Thread: Matching or contrasting thread, depending on your design preference.
- Pins or Clips: To hold pieces together while sewing.
- Iron: For pressing seams and fabric pieces.
Step-by-Step Guide to Creating the Quilt
- Cutting the Fabrics: Start by cutting your fabric scraps into diamond shapes. Precision is key, so use a quilting ruler and rotary cutter for accurate cuts. Also, cut the background fabric into the required shapes to frame the diamonds.
- Piecing the Diamonds: Arrange your diamond pieces in a pleasing layout. Begin piecing the diamonds together, ensuring the seams are aligned correctly. Press the seams open to reduce bulk and keep the pieces flat.
- Assembling the Quilt Top: Once the diamonds are pieced together, start assembling the quilt top by adding the background fabric. This will frame the diamond shapes and complete the quilt top design.
- Layering the Quilt: Lay out the backing fabric, place the batting on top, and then add the quilt top. Smooth out any wrinkles and secure the layers with pins or clips.
- Quilting: Quilt as desired. You can follow the diamond shapes with straight-line quilting or choose a more intricate free-motion quilting design to add texture and depth.
- Binding the Quilt: Once the quilting is complete, trim the excess batting and backing fabric. Attach the binding to the edges of the quilt, using your preferred method.
Tips for a Successful Quilt
- Fabric Selection: Choose a variety of fabric scraps in different colors and patterns. Mixing solids with prints can add visual interest.
- Precision in Cutting: Accurate cutting is crucial for the diamond shapes to fit together seamlessly. Take your time to ensure precise cuts.
- Pressing: Pressing your seams as you go will help keep your quilt top flat and neat.
- Experiment with Layouts: Don’t be afraid to experiment with different layouts before finalizing your design. The scrappy nature of the quilt allows for creative freedom.
The Scrappy Little Diamond Throw Quilt Pattern is a perfect project for quilters who love to experiment with color and design. This pattern not only helps you use up fabric scraps but also results in a stunning, one-of-a-kind quilt that showcases your creativity and quilting skills. Whether you are making it for yourself or as a gift, this throw quilt will surely be a cherished piece for years to come. So, gather your fabric scraps, set up your sewing machine, and embark on this delightful quilting adventure!
See also other free patterns here ➡ 📲🧵🧶

