
How to Make a Fabric Christmas Tree: Step-by-Step Tutorial

The world of quilting is vast and fascinating, full of patterns that combine art, skill and tradition. One of the patterns that stands out for its beauty and simplicity is the Rails and Ribbons Free Quilt Pattern. This free pattern provides a perfect opportunity for quilters of all levels to create a quilt that is both elegant and cozy. Let’s explore the features, materials needed and step-by-step instructions to create this masterpiece.
Features of the Rails and Ribbons Pattern
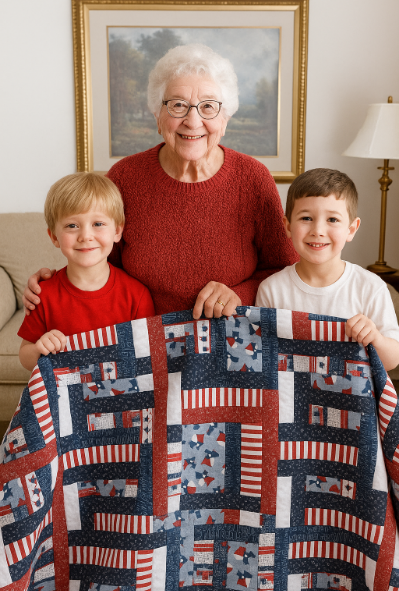
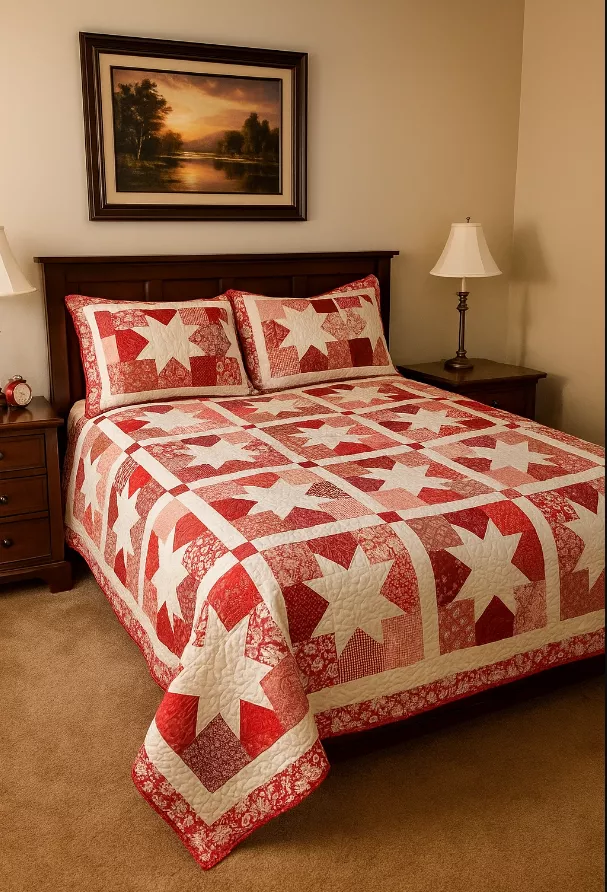
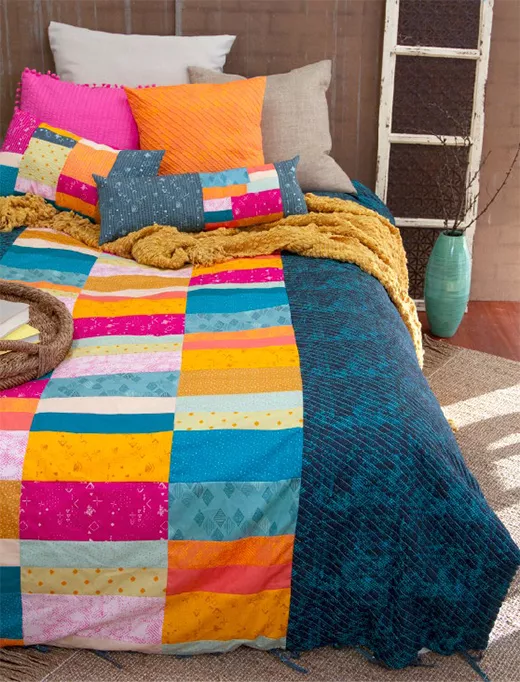
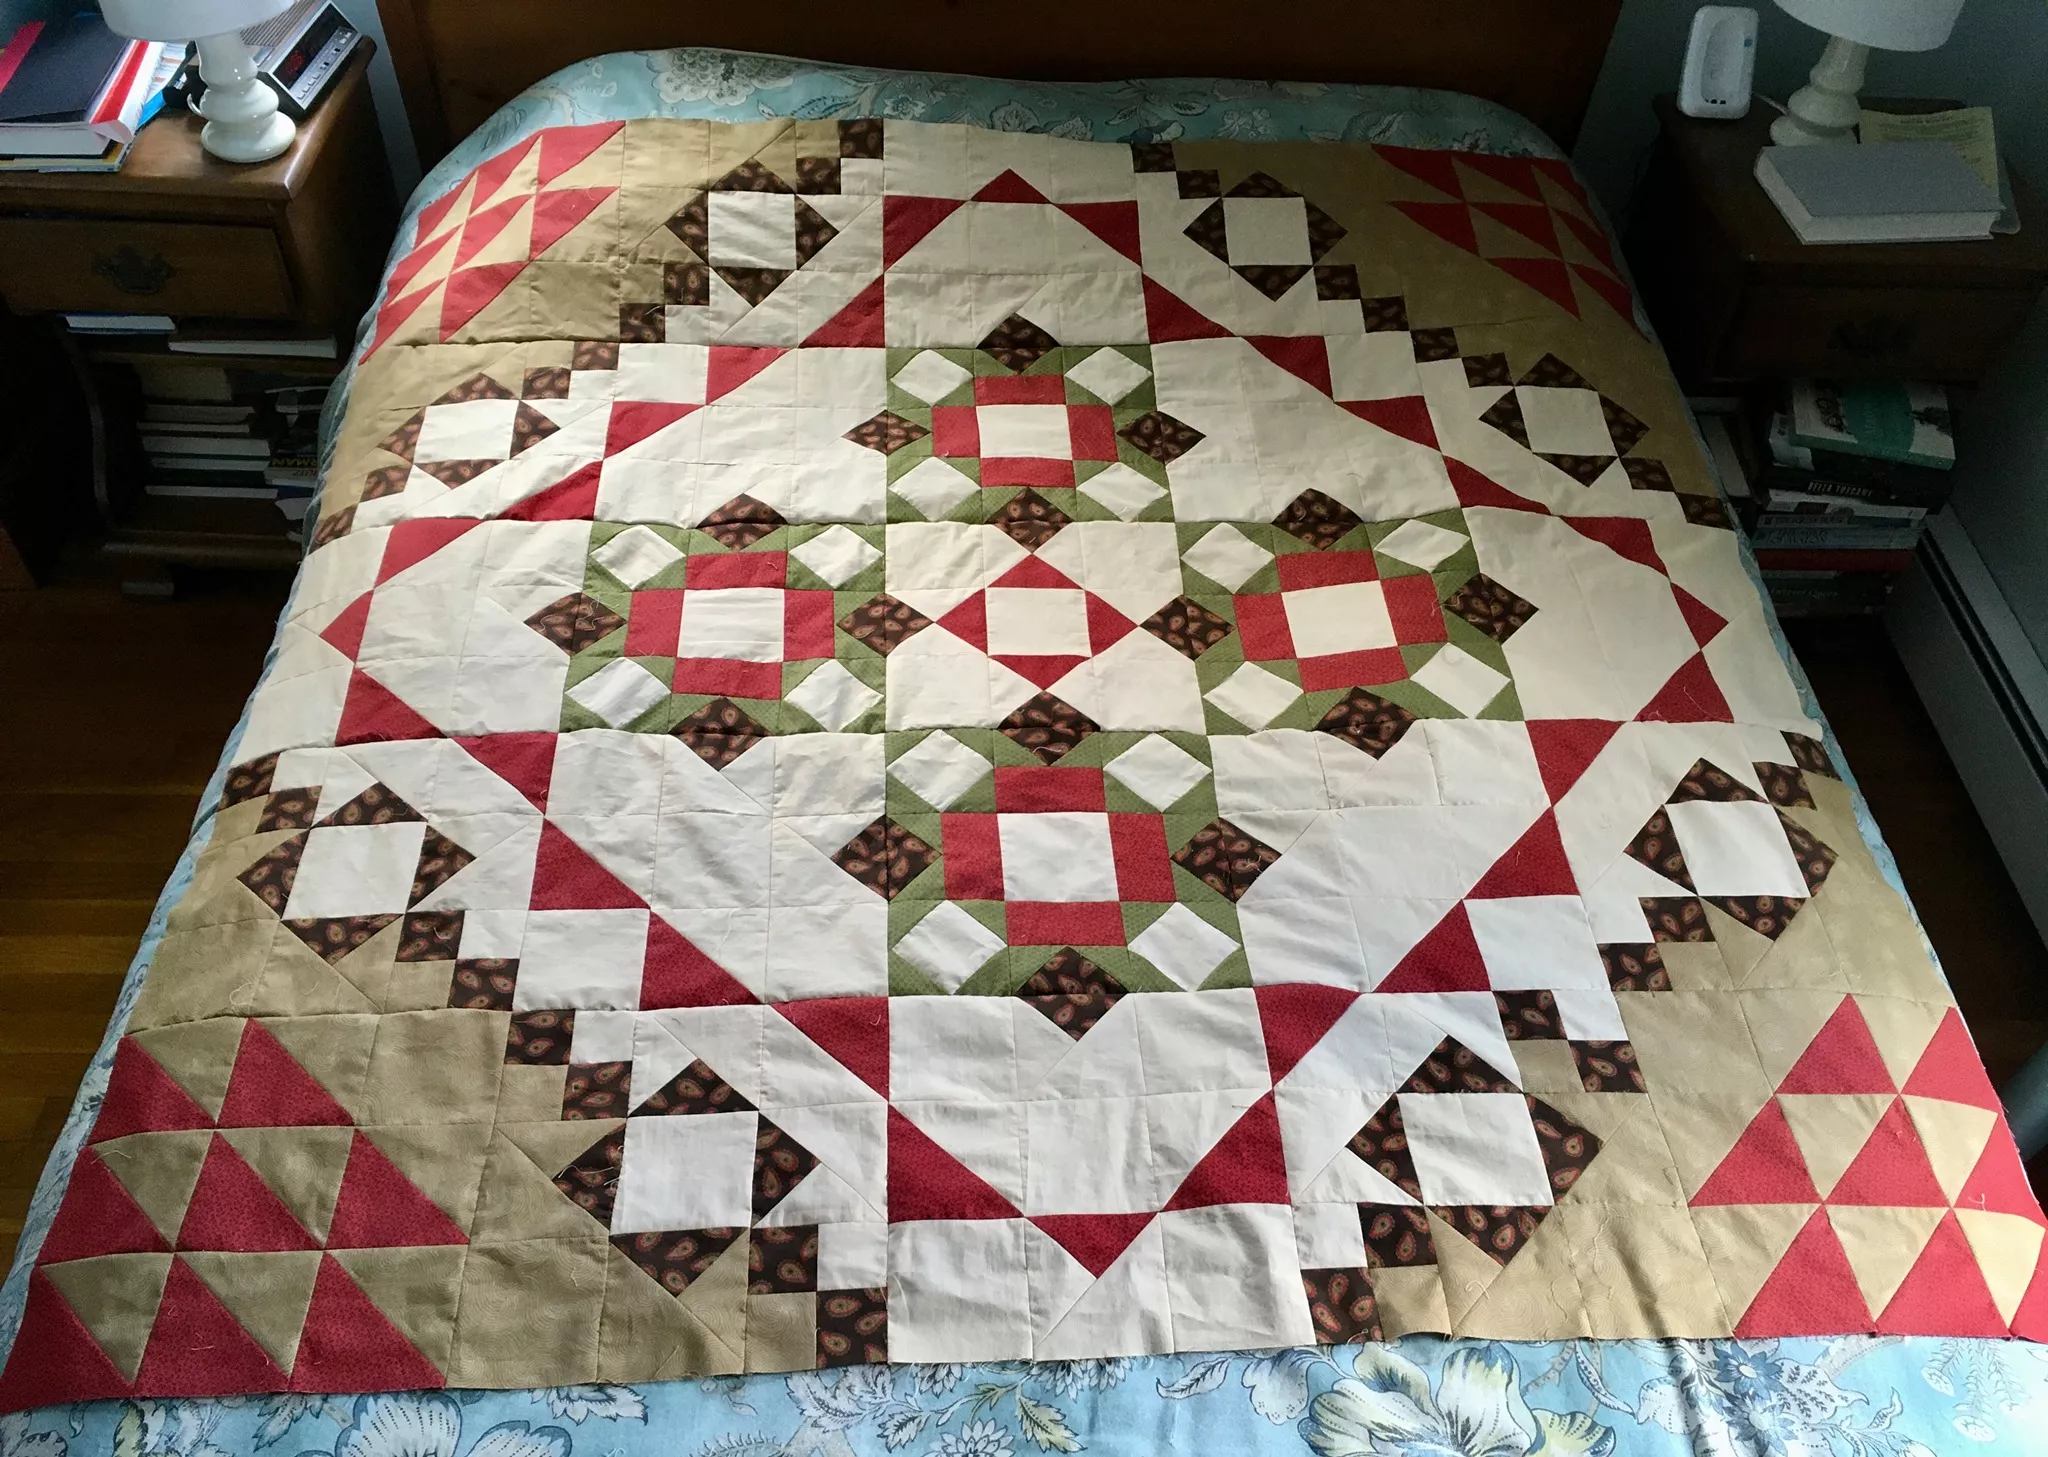
The Rails and Ribbons pattern is known for its clean lines and harmonious design, which creates a sense of movement and fluidity in the quilt. Here are some of the features that make this pattern a popular choice:
Classic Design with a Modern Twist:
The pattern combines the traditional style of rail blocks with the softness of ribbon blocks, creating a look that is timeless and contemporary at the same time.
Ease of Assembly:
Although the design may seem complex, assembling the blocks is relatively simple, making it accessible to beginner quilters while still being interesting for more experienced ones.
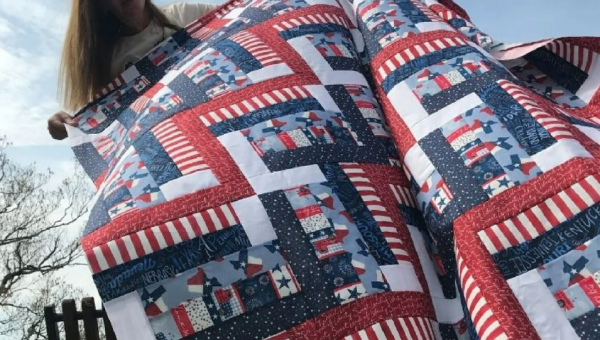
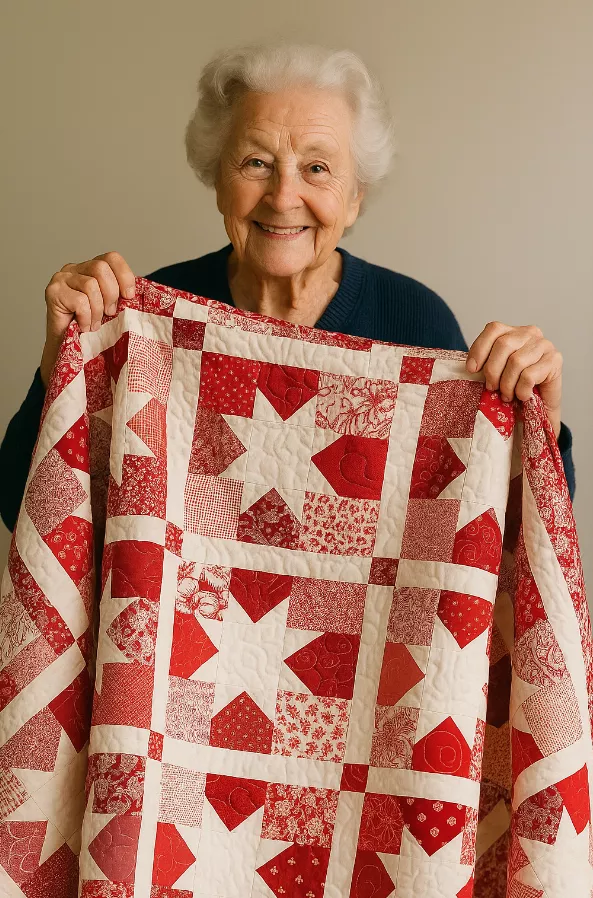
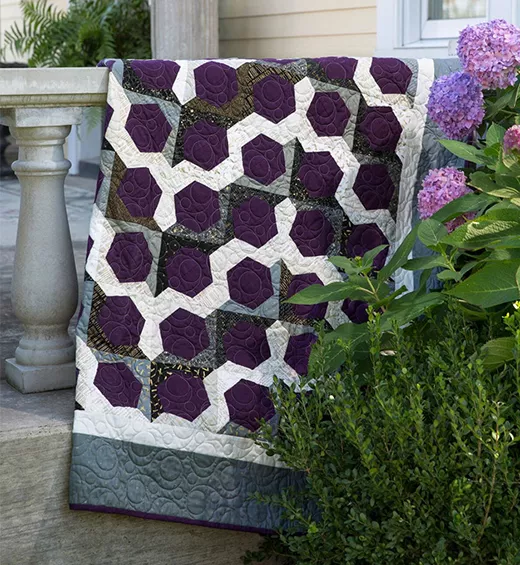
Color Versatility:
The choice of colors can completely transform the look of the quilt. Contrasting colors create a dramatic effect, while soft, harmonious tones provide a feeling of calm and elegance.
Necessary materials
To create the Rails and Ribbons pattern, you will need some basic quilting materials. Here is a list to help you prepare:
Fabrics: Select a variety of fabrics for the track blocks and ribbons. You will need background and accent fabrics to create the necessary contrast.
Sewing Machine: A reliable sewing machine is essential for joining blocks together accurately and quickly.
Cutting Tools: A rotary cutter, quilting ruler, and cutting mat will help you cut fabrics accurately.
Sewing Thread: Use a good quality thread that matches the chosen fabrics.
Iron: An iron will come in handy to ensure your seams are flat and precise.
Filling and Backing Fabric: Choose a quality filling and backing fabric that complements the quilt top.
Step by Step to Create the Rails and Ribbons Quilt
Fabric Cutting:
Start by cutting your fabrics according to the dimensions specified in the pattern. Make sure you cut out all the necessary pieces before you start sewing.
Assembly of Rail Blocks:
Sew the fabric strips together to form the track blocks. Press the seams open or to one side, whichever you prefer, to ensure the blocks lie flat.
Assembling the Ribbon Blocks:
Create the ribbon blocks by joining the accent and background fabrics together. These blocks will add the touch of movement to your quilt.
Joining the Blocks:
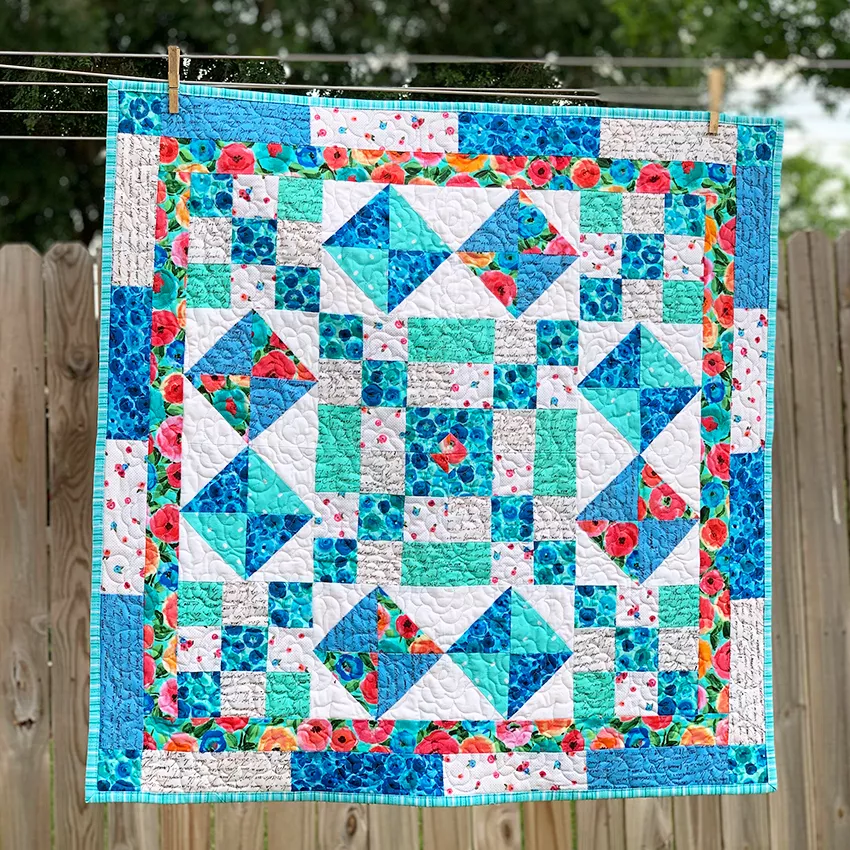
Arrange the track blocks and ribbons in a visually pleasing layout. Sew the blocks together in rows, then join the rows together to form the quilt top.
Layer and Quilt:
Assemble the quilt in layers with the backing fabric, batting, and top. Quilt as desired to join the layers together. You can choose a simple quilting design or something more elaborate.
Bias Finish:
Finish the quilt by sewing the bias binding around the edges. Make sure the bias is snug for a clean, professional finish.
Tips and tricks
Precision is Key: Make sure you cut and sew accurately so the blocks line up correctly.
Pressing is Important: Use the iron frequently to keep the seams flat and the blocks even.
Color Choice: Try different color combinations before deciding on the final layout. Colors can completely transform the look of your quilt.
The Rails and Ribbons pattern is an excellent choice for those who want to create a stunning quilt without excessive fuss. With its combination of track blocks and ribbons, you’ll have a unique piece that celebrates the art of quilting. So, prepare your favorite fabrics, your sewing machine and dive into this enchanting project!
Click and download the free pattern
Rails and Ribbons Free Quilt Pattern
