
How to Make a Fabric Christmas Tree: Step-by-Step Tutorial

See also other free patterns here ➡ 📲🧵🧶
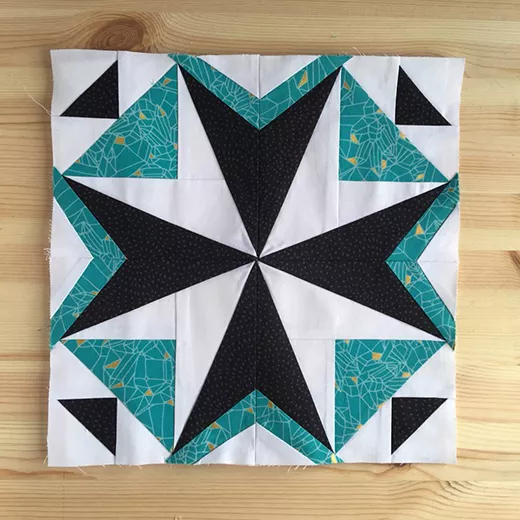
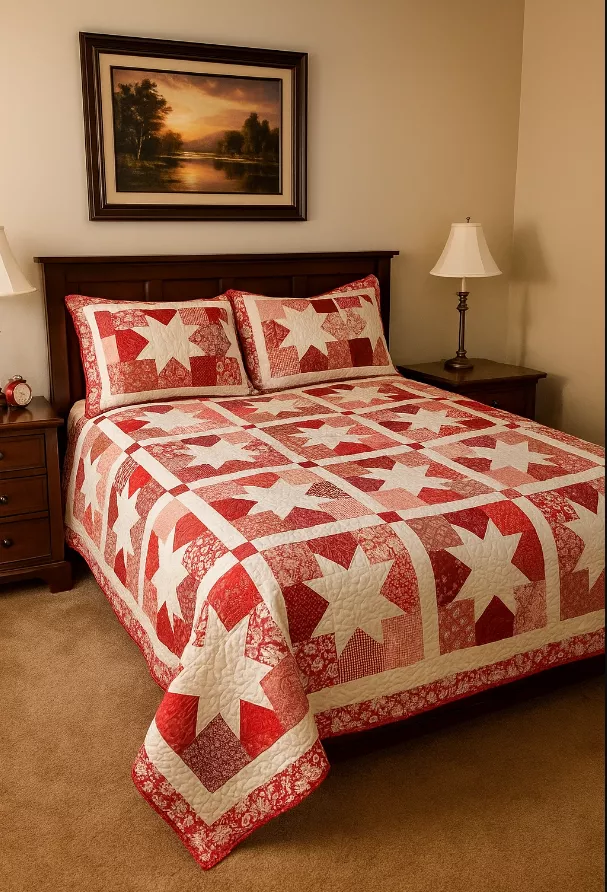
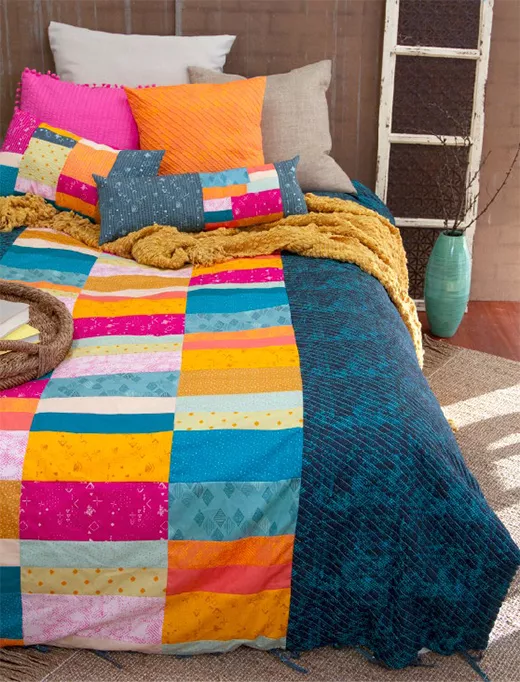
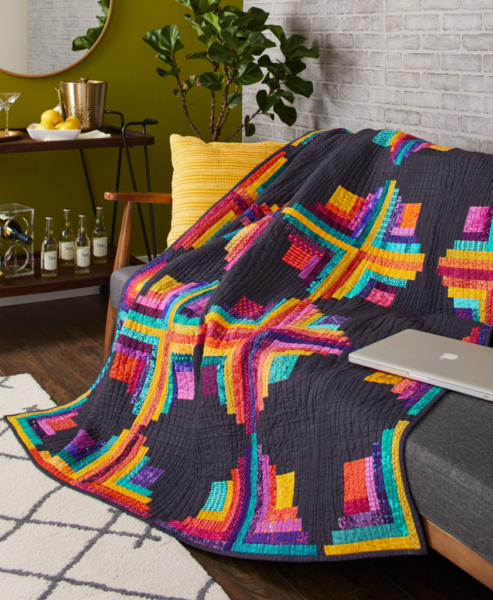
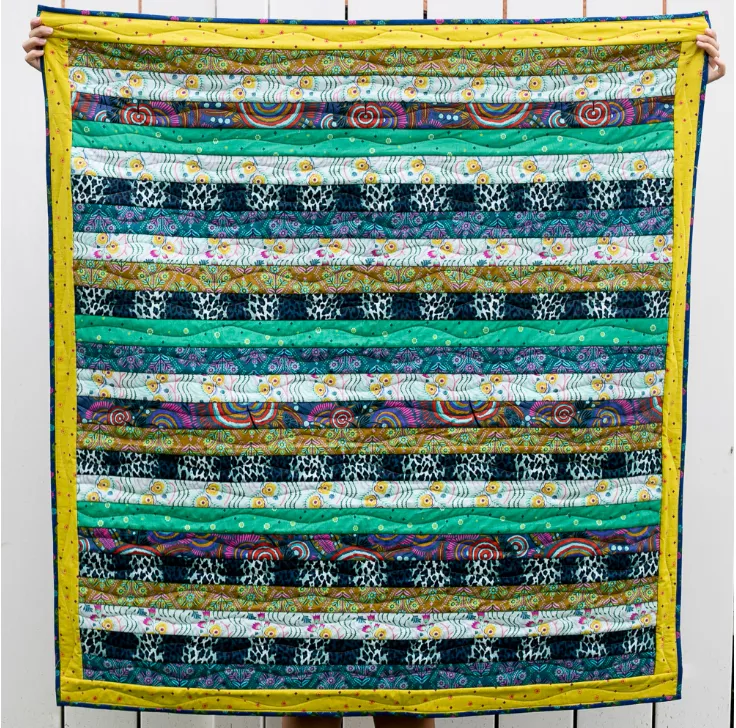
Patchwork quilts are increasingly popular because they combine creativity, style, and comfort. The geometric star-shaped quilt in the image is a perfect example of how patchwork can transform simple pieces of fabric into a decorative piece full of personality. In this article, you’ll learn how to make a bedspread inspired by this star block. The step-by-step instructions are detailed enough that even beginners can follow along.
Materials Needed
Before beginning, gather your materials:
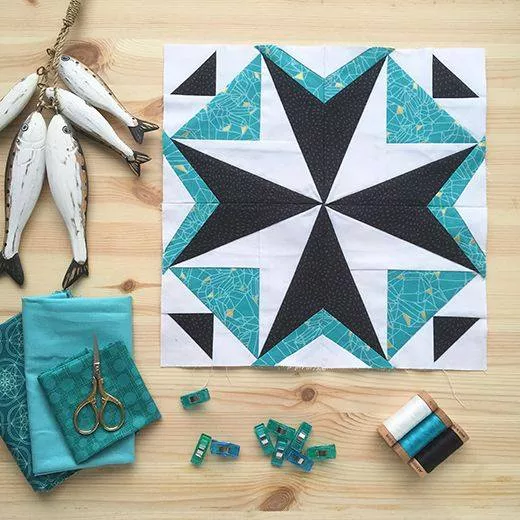
100% cotton fabrics in three different colors (example in the photo: black, turquoise, and white);
Fabric scissors or circular cutter;
Patchwork ruler;
Sewing machine (can be done by hand, but a machine speeds up the process);
100% cotton thread (color to match the fabrics);
Sewing pins or clips;
Iron;
Acrylic batting or R2 batting;
Backing fabric (back of the quilt).
Step 1 – Choosing the Quilt Size
Before cutting the fabrics, determine the size of your quilt:
Single: 63″ x 74″;
Double: 74″ x 84″;
Queen: 84″ x 84″;
King: 90″ x 94″
The star block can be repeated several times to form the entire quilt. Each block can be, for example, 16″ x 16″ (40 cm x 40 cm). Therefore, for a single size quilt, you will need approximately 24 blocks (6 x 4 blocks).
Step 2 – Cutting the Fabrics
The star is made up of triangles and trapezoids that join together to create a geometric effect. Cut as follows:
8 large black triangles (these will form the central star);
8 medium turquoise triangles (frame the star);
8 small black triangles (finishing corners);
White squares and rectangles (star bottom).
Tip: Always use a patchwork ruler to ensure precise cuts.
Step 3 – Assembling the Star Block
Organization: Lay all the pieces on a flat surface, as shown in the image, to visualize how the block will look.
Sewing the central triangles: Join two black triangles to form a diamond. Do this four times.
Adding the turquoise triangles: Sew the turquoise triangles to the outer sides, creating the “rays” effect of the star.
Assembling the quadrants: Divide each star block into four equal quadrants. Assemble them separately and then join them.
Finishing the block: Join the quadrants to form a perfect square. Iron each seam to set.
Step 4 – Assembling the Quilt
After preparing the blocks:
Positioning: Arrange the blocks on the floor or on a design wall to visualize the sequence.
Sewing the rows: Join the blocks in horizontal rows. Then join the rows together.
Preparing the top: Iron all the seams to make the quilt top smooth.
Step 5 – Final Assembly with Batting and Backing
Layering: Lay the backing fabric on the floor (wrong side up), place the acrylic batting on top, and finish with the quilt top (right side up).
Securing: Use safety pins or clips to secure the three layers.
Quilting: Sew straight seams along the star lines or diagonal lines. This keeps the layers together and enhances the design.
Biasing: Cut strips of fabric, fold them in half, and sew around the quilt for a professional finish.
Extra Tips
If you’re a beginner, start with larger blocks. This makes sewing easier and reduces the number of pieces.
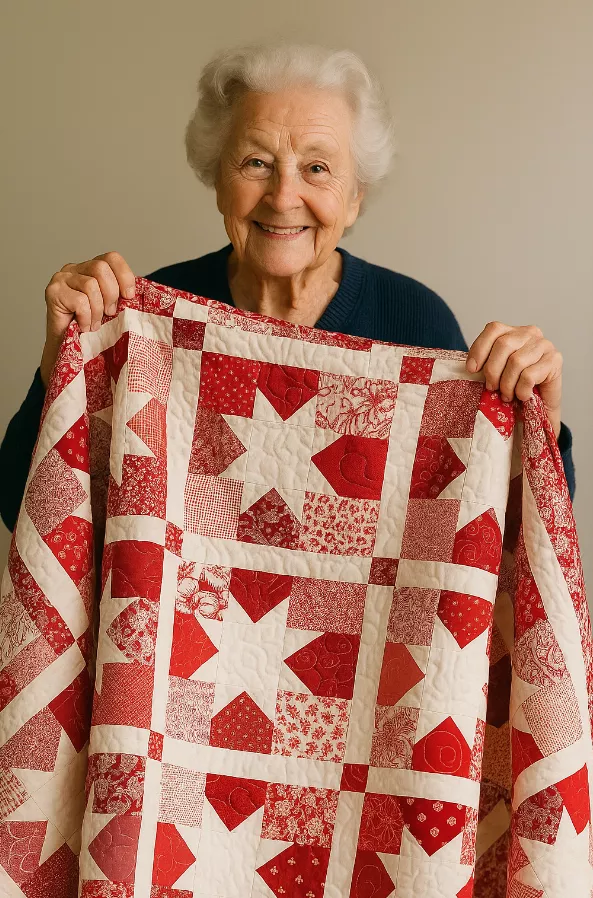
Use contrasting fabrics to highlight the star. Black and turquoise are modern, but you can use combinations like red and white, blue and gold, or pastel shades.
For a cozier look, choose a thicker acrylic blanket.
If you want a more minimalist look, use only two colors (the star in one color and the background in another).
See also other free patterns here ➡ 📲🧵🧶
Conclusion
Creating a geometric star quilt is a project that combines art and functionality. Besides making your room more beautiful and welcoming, you’ll have a unique handmade piece that could even become a family heirloom.
By following this step-by-step guide, you’ll not only have a quilt, but also the satisfaction of transforming fabrics into something special. Whether for your own use, as a gift, or even to sell, this patchwork technique is charming and full of creative possibilities.
With patience and practice, each stitch becomes part of a story. Now just choose your favorite colors, prepare the materials and start sewing!
The Pattern is available for free ▶ Lisbon Tile Block

