
How to Make a Fabric Christmas Tree: Step-by-Step Tutorial

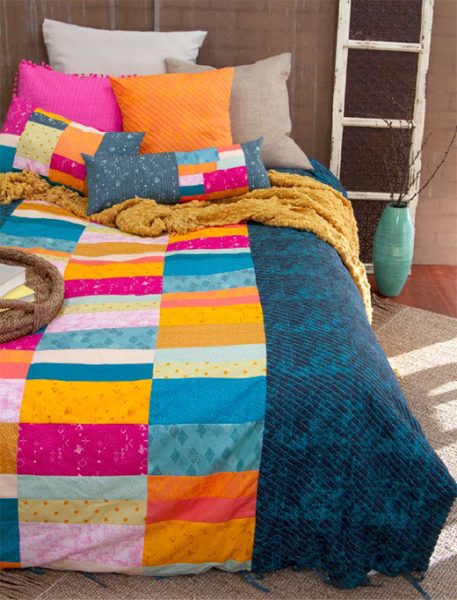
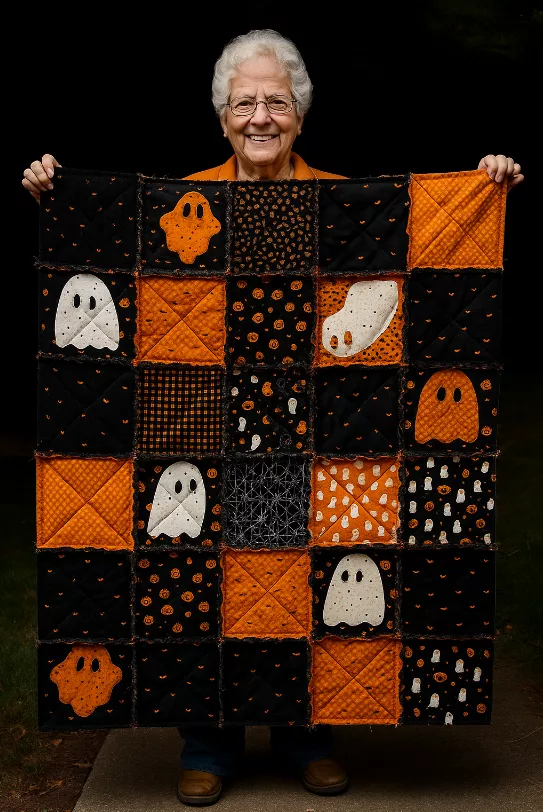
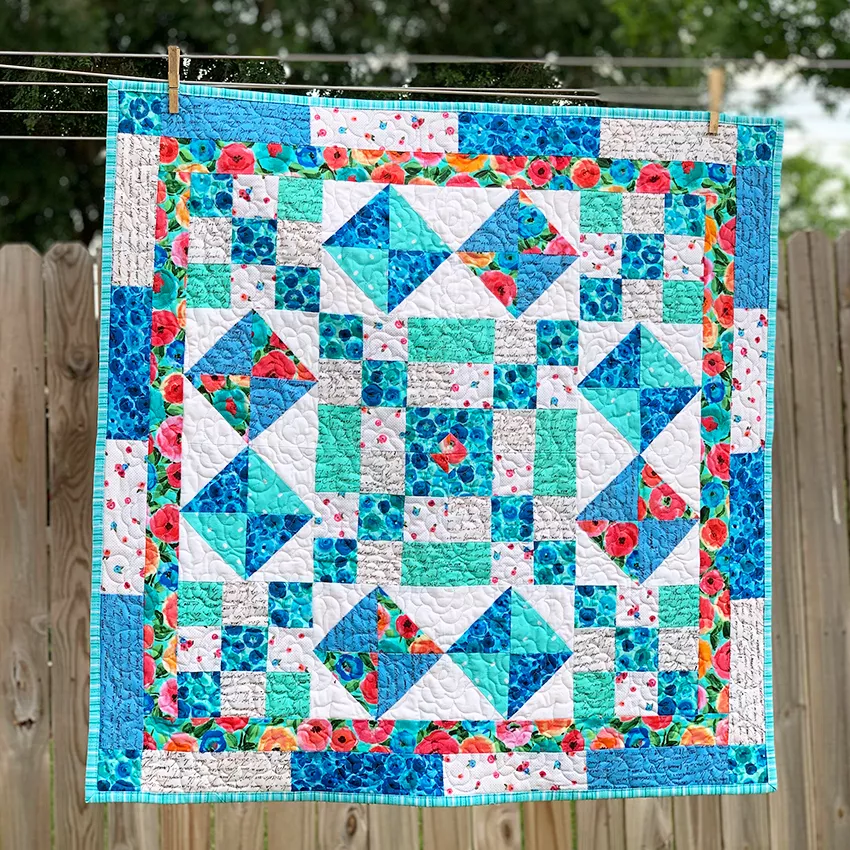
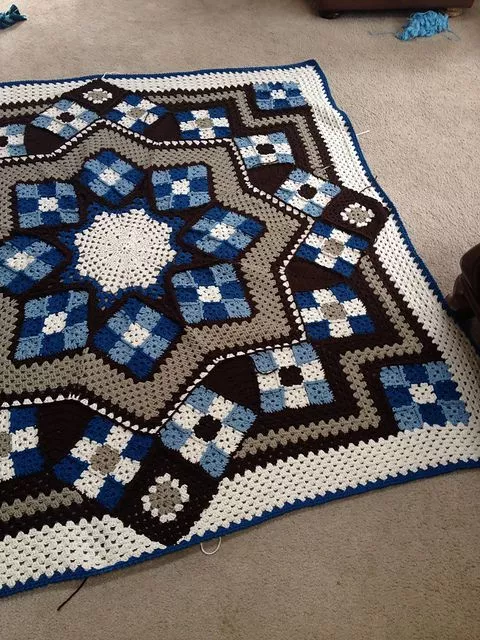
The patchwork quilt is a timeless classic in home decor and crafts. Besides adding a unique charm to a bedroom, it carries stories in every piece of fabric used, making it a special piece, full of memories and personality. In the image we used as inspiration, we see a vibrant quilt with cheerful colors and a modern look, ideal for transforming any bedroom into a cozy and stylish space.
If you’ve always wanted to learn how to make your own bedspread but didn’t know where to start, this step-by-step guide will help you. We’ll show you everything from choosing the fabrics to the final touches.
1. Choosing the Fabrics
The first step is selecting the fabrics. The beauty of a patchwork quilt lies in the mix of colors, prints, and textures. You can use scraps of fabric you already have at home or buy new cuts.
Tips for choosing:
Opt for 100% cotton fabrics, which are easy to sew and offer greater durability.
Combine contrasting colors (such as blue, yellow, pink, and orange) to create a cheerful look.
Mix patterned and solid fabrics to add movement to the design.
In the example quilt, vibrant colors predominate in rectangular blocks, interspersed with more neutral fabrics. This contrast makes the piece even more interesting.
2. Determining the Quilt Size
Before cutting the fabrics, it’s important to determine the final size of your quilt.
Approximate measurements:
Single bed: 1.60 m x 2.20 m
Double bed: 2.20 m x 2.40 m
Queen bed: 2.40 m x 2.60 m
King bed: 2.60 m x 2.80 m
With the measurements defined, you’ll know how many fabric blocks you’ll need.
3. Cutting the Scraps
Now it’s time to cut the fabrics. In the model pictured, the blocks are rectangular. You can choose any size you prefer, but one suggestion is to cut rectangles measuring 20 cm x 15 cm.
Use a ruler, a fabric pencil, and a circular cutter (or very sharp scissors) to ensure straight, even cuts.
Tip: Always wash and iron fabrics before cutting to prevent shrinkage or warping after the piece is finished.
4. Assembling the Layout
Before you start sewing, lay out the cut rectangles on a large surface (this could be your bed or the floor). This way, you can visualize the color combination and make adjustments before pinning.
Sew row by row, alternating warm colors (like yellow and pink) and cool colors (like blue and green). This balance brings harmony to the final look.
See also other free patterns here ➡ 📲🧵🧶
5. Sewing the Blocks
Now for the fun part: sewing!
Take two rectangles and place them right sides together (with the pattern facing in).
Sew one of the sides together with a 1 cm seam allowance.
Open the fabric and iron to set the seam.
Join more blocks until you form a long strip.
Then, join the side strips together to form the quilt top.
It’s best to use a sewing machine for stability and speed, but you can also do it by hand with small, firm stitches.
6. Assembling the Layers
A patchwork quilt is usually made up of three layers:
Top (the sewn scraps).
Backing (a full fabric, which will be on the back of the quilt).
Acrylic batting (or other batting for softness).
Assemble as follows:
Lay the backing on the floor, right side down.
Place the acrylic batting on top.
Finish with the quilt top (right side up).
Pin or baste all layers to prevent slipping.
7. Quilting (Decorative Sewing)
Quilting is the stitching that holds the three layers together. You can do it by machine or by hand.
Quilting suggestions:
Straight lines, following the blocks.
Diagonal stitching, creating a grid effect.
Free-form quilting, with various designs (for those who are more experienced).
This step, besides being functional, makes the quilt even more charming.
8. Finishing with Bias
Bias is the strip of fabric that goes around the entire quilt, providing a finished look.
Step by step:
Cut 6 cm wide strips of fabric.
Join the strips until they are long enough to surround the entire quilt.
Fold the strips in half lengthwise.
Sew the bias around the quilt, securing all the layers.
9. Finishing Touches
Once finished, iron the quilt at a temperature appropriate for the fabric. This will highlight the seams and give it a more professional finish.
If desired, you can also add additional details, such as embroidery, appliqués, or even decorative pockets.
10. Customizing Tips
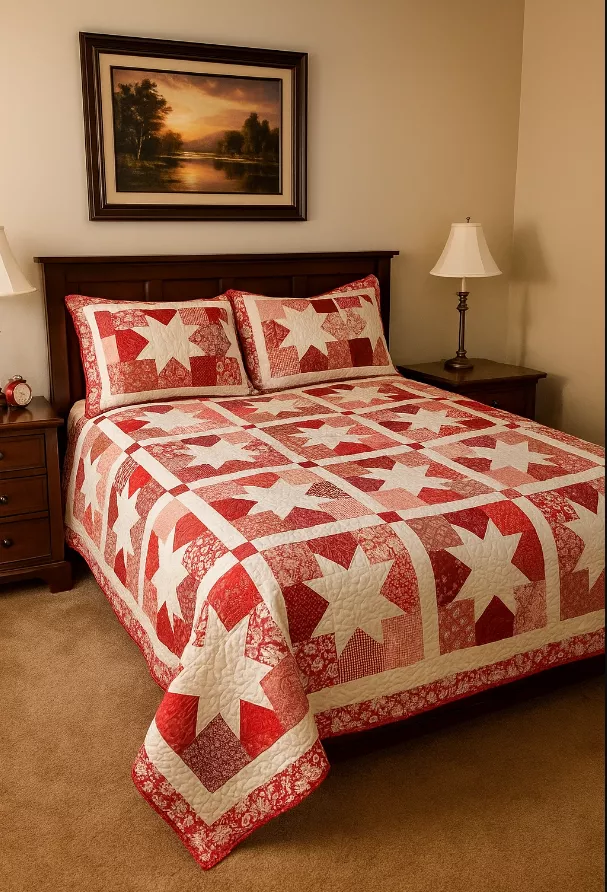
Create themed quilts (children’s, floral, geometric).
Use scraps from old clothing with sentimental value.
Mix solid and patterned fabrics for balance.
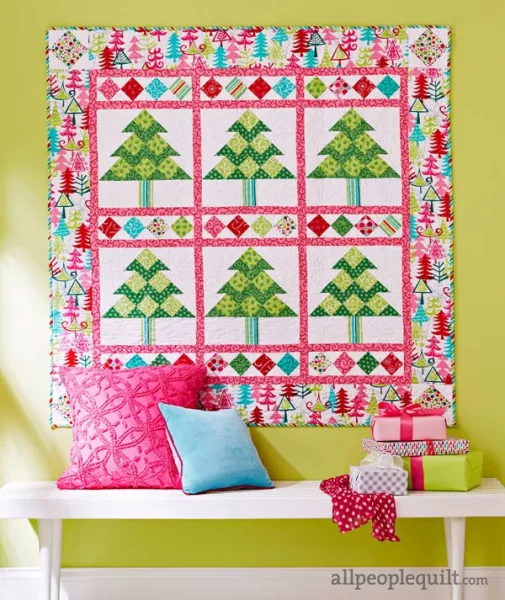
Make pillows that match the quilt, as seen in the inspiration image.
Conclusion
Making a patchwork quilt is more than just sewing together pieces of fabric: it’s bringing to life a unique piece, full of personality and stories.
See also other free patterns here ➡ 📲🧵🧶

