
How to Make a Fabric Christmas Tree: Step-by-Step Tutorial

Learn how to make a beautiful patchwork quilt with red stars step by step. Tips, measurements, fabrics, and techniques for sewing a charming and cozy quilt for your bedroom.
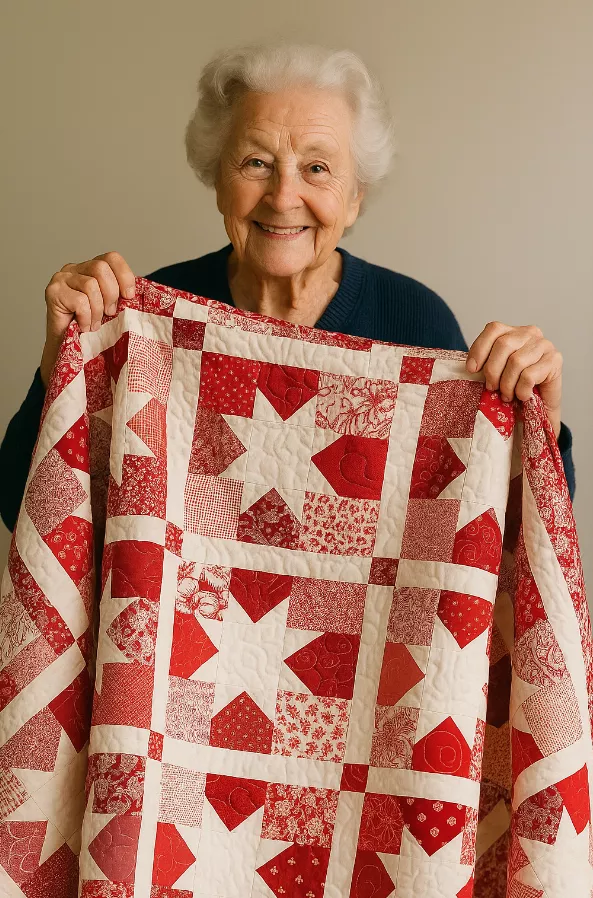
If you love crafts and want to transform your bedroom with a handmade touch, the red star patchwork quilt is an excellent choice. Besides being beautiful, it combines tradition, creativity, and warmth. This model, made with star-shaped blocks, is perfect for those seeking a classic look with vibrant, captivating colors.
Even if you’re a sewing beginner, it’s entirely possible to create a quilt like this with patience and attention to detail. Follow the step-by-step instructions and learn how to make your own!
🪡 Materials Needed
Before you begin, gather all your materials. This will make things easier and prevent interruptions while sewing:
100% cotton fabrics in red, burgundy, and white
Acrylic batting (filling)
Plain fabric for the lining
Fabric scissors or circular cutter
Patchwork ruler and cutting mat
Sewing machine
White or beige thread
Pins, measuring tape, and iron
Tip: Use cotton fabrics to ensure firm seams and a smooth feel. Synthetic fabrics can slip and make finishing difficult.
🧩 Step 1 – Plan the Design and Cut the Fabric
The secret to a beautiful patchwork is in the planning. Choose shades of red that complement each other and contrast with the white.
Sketch out the star pattern before cutting the fabric—this helps you visualize the final result.
Cut 12″ x 12″ squares for the main blocks and smaller triangles for the star points. Use the Half Square Triangle (HST) technique to create perfect triangles.
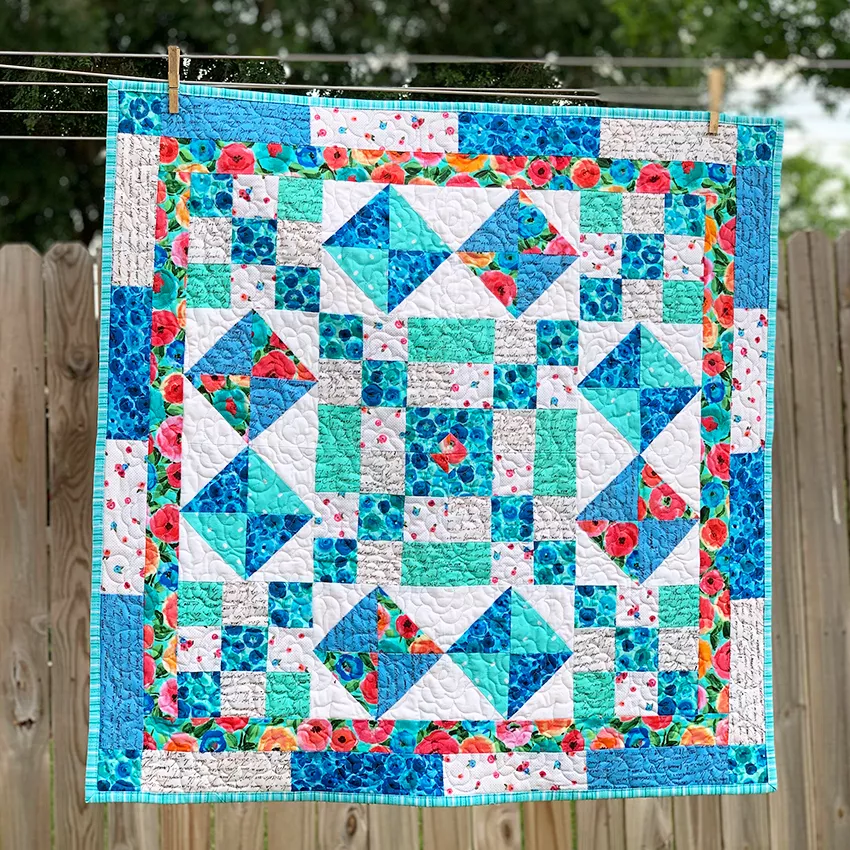
🌟 Step 2 – Assemble the Star Blocks
Each quilt block consists of a central square and eight triangle-shaped points.
Join the red and white triangles, sew diagonally, and iron the pieces open. Then, assemble the star shape on the table and pin it before sewing.
Sew the pieces together in horizontal strips, then join the strips together. Remember to iron every seam—this keeps the blocks flat and looks more professional.

See also other free patterns here ➡ 📲🧵🧶
🧵 Step 3 – Assemble the Quilt Top
With the blocks ready, arrange them on the floor to determine the order in which to assemble them.
Intersperse each star with 2-inch-wide white stripes, creating a balanced and elegant pattern.
Sew row by row until you have the complete quilt top.
This step defines the main look, so take the time to align the blocks precisely. The straighter the blocks, the more beautiful the final result.
🪶 Step 4 – Assemble the Three Layers
The quilt will consist of three layers:
Lining (bottom);
Acrylic batting (filling);
Patchwork top (decorative part).
Assemble the layers on a flat surface, aligning all the edges well. Secure with pins or quilting staples, always working from the center outward.
🧷 Step 5 – Quilting and Finishing
Now comes the fun part: quilting!
You can sew straight seams along the block lines or opt for free-form quilting with wavy patterns.
For a modern look, use diagonal stitching across the stars. This enhances the shape and gives the quilt a firm feel.
After quilting, trim any excess edges.
To finish, cut 6 cm wide red strips to create the bias binding. Sew around the entire quilt, fold it over, and hand-stitch.
💡 Step 6 – Extra Tips and Care
Always wash fabrics before beginning to prevent shrinkage after sewing.
Use cotton thread and a 14/90 needle, ideal for patchwork.
Store the quilt in a dry, airy place to maintain its vibrant colors.
If you like, add a personalized tag with your name or the date of creation—a special handmade touch.
See also other free patterns here ➡ 📲🧵🧶
🛏️ Final Result
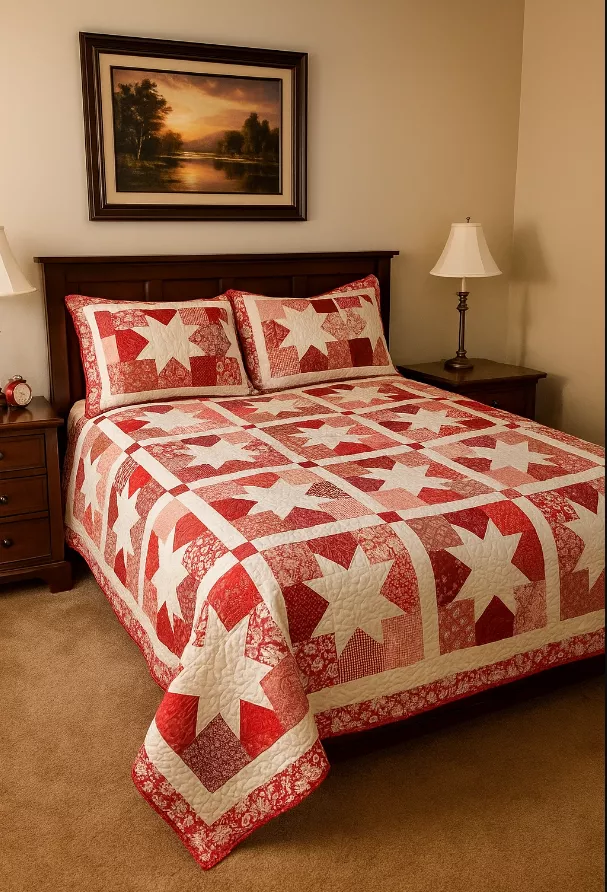
When finished, you’ll have a red star quilt that exudes pure elegance. The contrast between red and white creates a vibrant and welcoming effect, perfect for updating a room or giving as a gift to someone special.
This type of quilt complements rustic, romantic, or minimalist decor and enhances any space.
With patience and dedication, you can transform simple scraps into a unique piece full of history—a true work of art, crafted by you!