
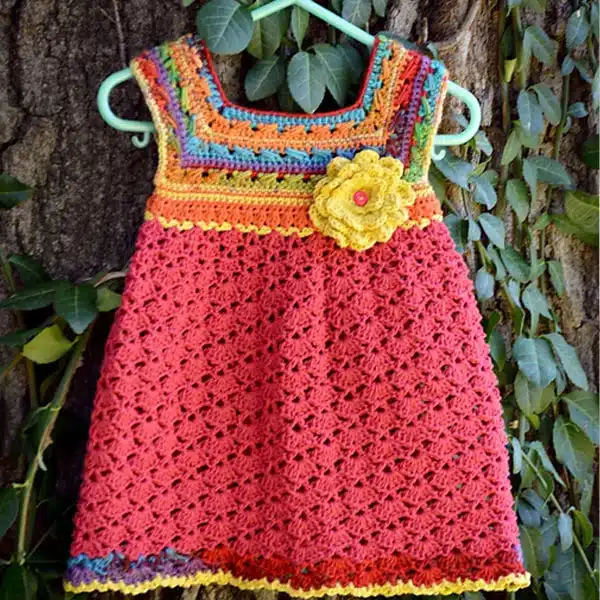
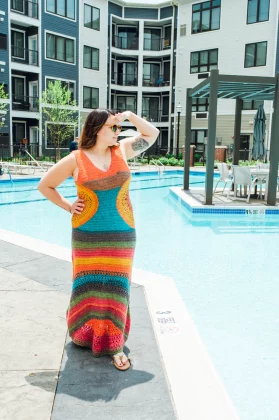
Long Red Crochet Dress With Motifs

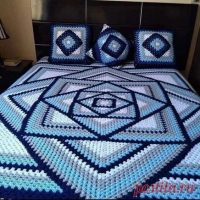
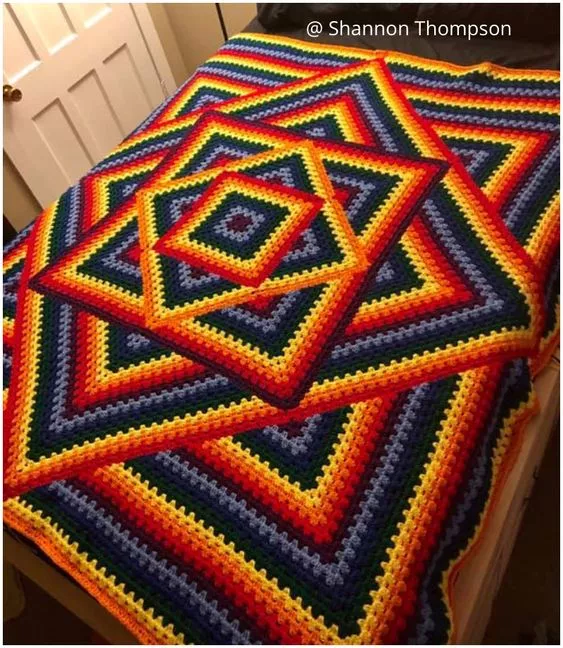
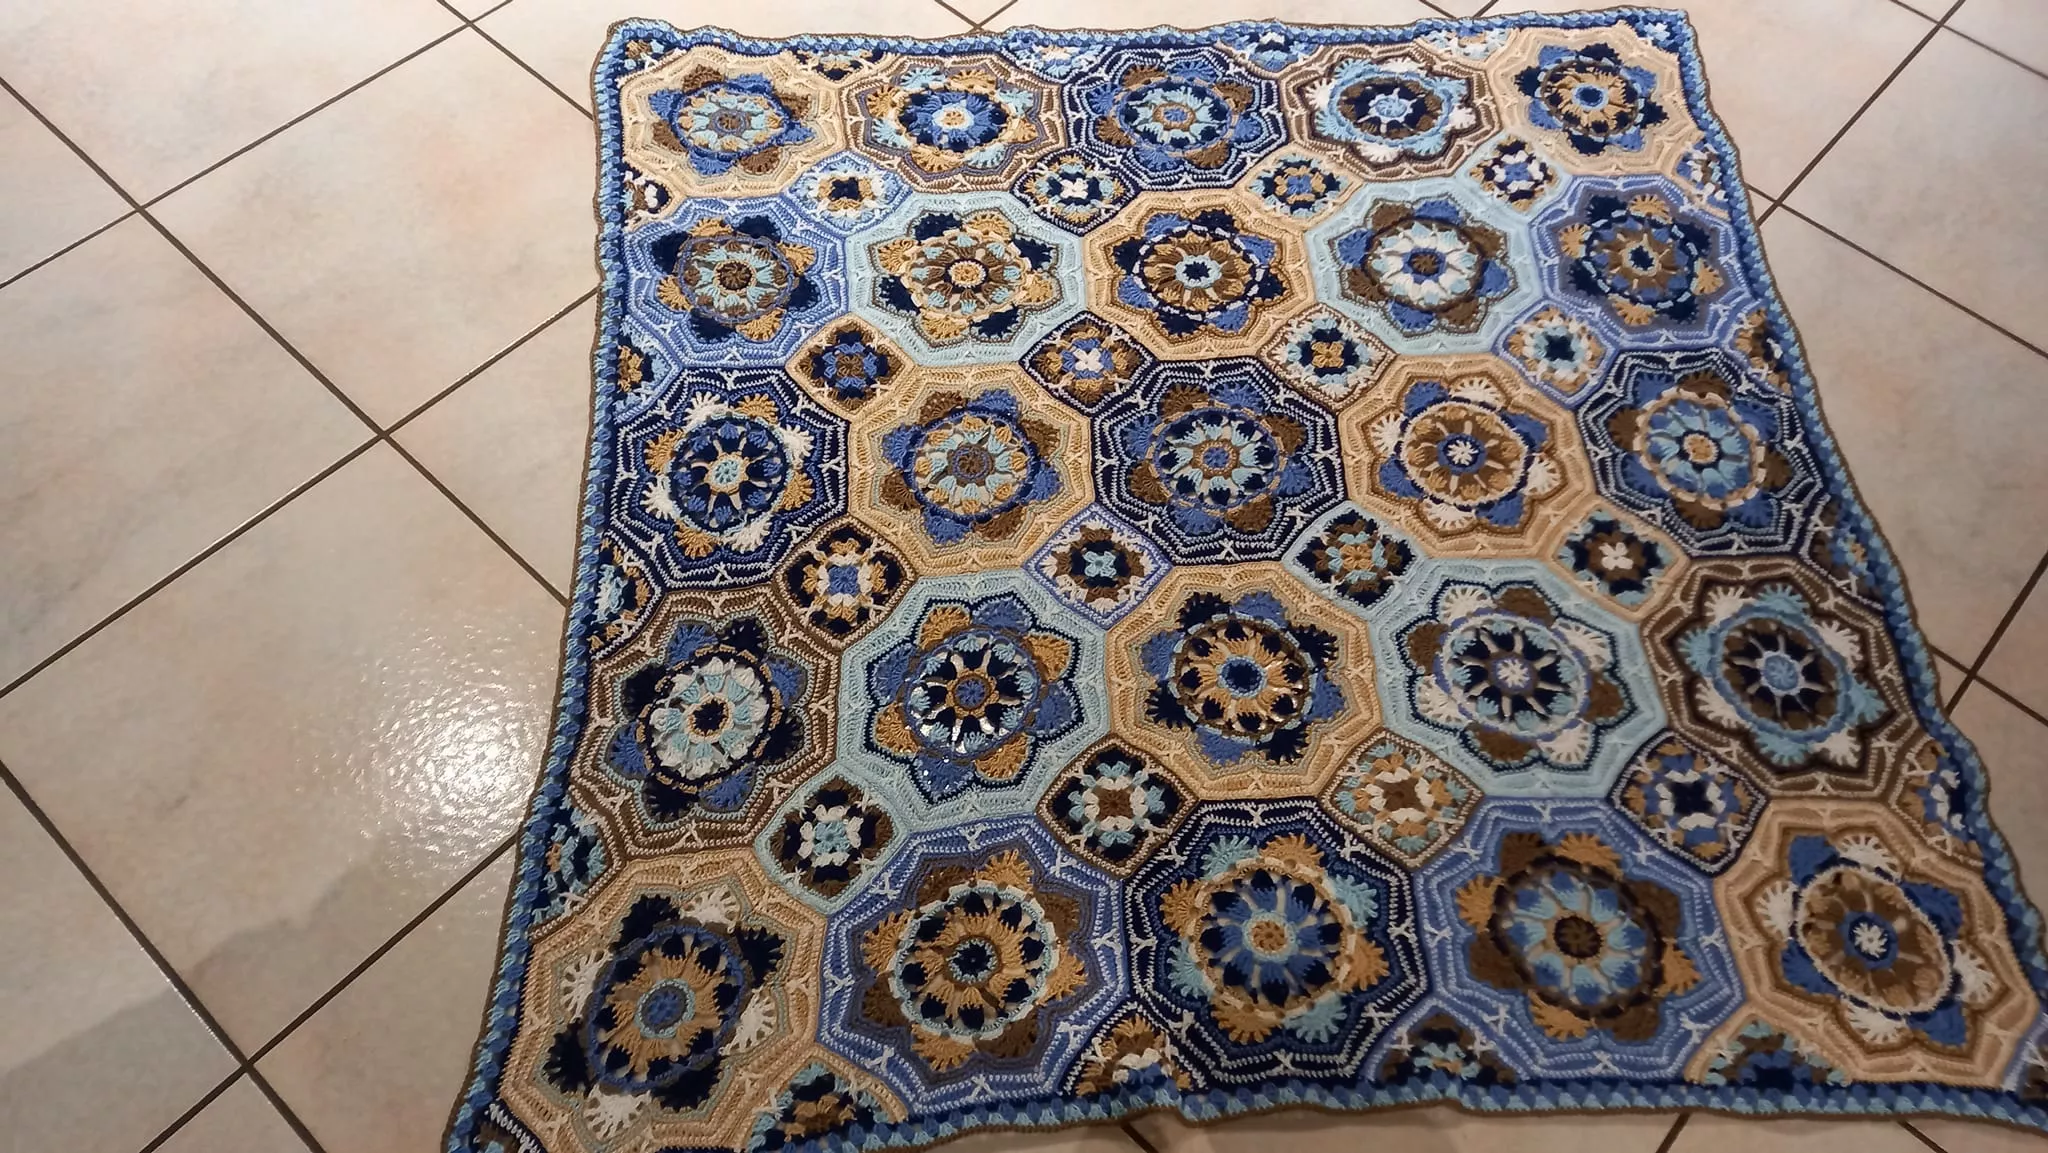
The Squared Diamond Granny Throw is a classic crochet pattern that results in a cozy and visually stunning throw. With its geometric shapes and vibrant colors, this project is perfect for beginners and more experienced crocheters alike. In this article, we will guide you step by step through creating this beautiful crochet pattern.
Necessary materials
Crochet yarn in various colors (choose medium weight yarn for best results)
Crochet hook suitable for the yarn (usually 4mm or 5mm)
Scissors
Tapestry needle to finish the ends
Stitch marker (optional)
Abbreviations and Points Used
chain: chain
sl st: slip stitch
sc: single crochet
pa: high point
pad: double crochet
space: space between two points or groups of points
Step by step
1. Make the Center Square
Magic Ring: Start with a magic ring. This will be the center of your first square.
First Layer: Make 3 ch (counts as the first dc), 2 dc inside the magic ring, ch 2, 3 dc inside the magic ring; repeat from * to * 3 more times. Finish with 2 ch and 1 sl st in the initial third ch. (You should have four sets of 3 dc separated by 2 ch).
Second Layer: Make ch 3 (counts as the first dc), 2 dc in the same space, ch 1, (3 dc, ch 2, 3 dc) in the next ch 2 space, ch 1; repeat from * to * around. Finish with 3 dc in the same space as the first chain and 1 sl st in the initial third ch.
2. Expand the Square
Third Layer: Make ch 3 (counts as the first dc), 2 dc in the same space, ch 1, (3 dc in the next ch-1 space, ch 1), (3 dc, ch 2, 3 dc) in the next space from 2 ch, 1 ch; repeat from * to * around. Finish with 3 dc in the same space as the first chain and 1 sl st in the initial third ch.
Layering Repeat: Continue expanding the square following the established pattern, adding groups of 3 dc in each ch-1 space and (3 dc, ch-2, 3 dc) in each ch-2 corner. Each new layer will add more 3dc groups.
3. Add Colors and Create Diamonds
Swap Colors: To create the diamond effect, swap colors every two or three layers. Cut the yarn and secure the new color with a sl st within 2 chs of any corner.
Continue the Pattern: Continue the crochet pattern as described, changing colors as desired to create the diamond effect.
4. Assemble the Blanket
Make Multiple Squares: Repeat the above process to create multiple crochet squares. The number of squares will depend on the desired size of your blanket.
Joining the Squares: Use a tapestry needle and thread to join the squares together. You can use the invisible stitching technique or join the squares together with single crochets.
5. Finishing
Tie the Ends: Use a tapestry needle to hide any loose ends.
Blanket Border: Edge the entire blanket with single crochets or another decorative stitch of your choice to give it a professional finish.
Final Tips
Yarn Choice: Use contrasting color yarn to highlight the diamond patterns.
Blocking: Block the squares before joining them to ensure they lie flat and even.
Customize: Try different color combinations and square sizes to create a unique design.
Creating a Squared Diamond Granny Throw is a fun and rewarding project. With patience and creativity, you will have a beautiful blanket that will add a touch of elegance and warmth to your home. Happy crocheting!
Pinterest Image

Pinterest Image