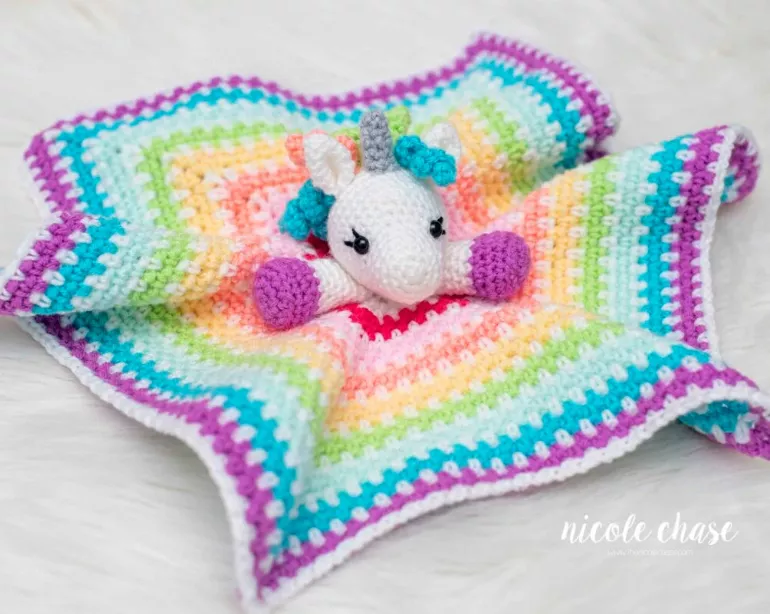
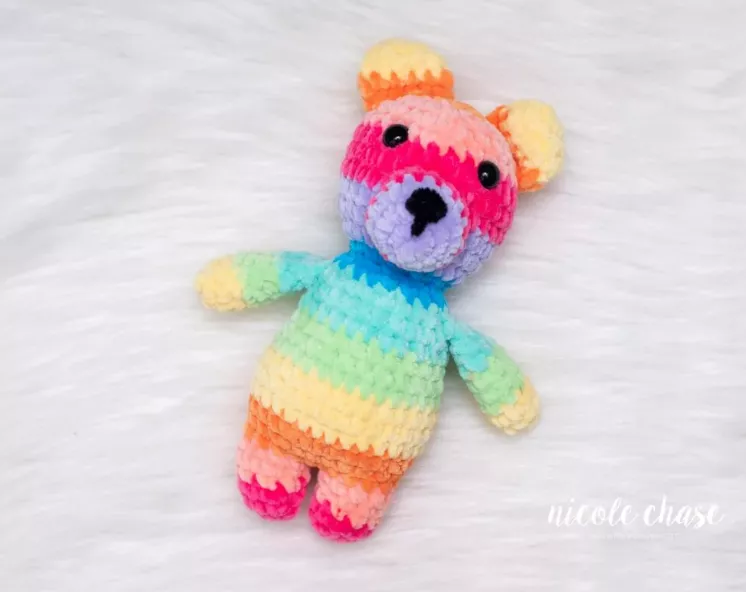
Candy Corn Dinosaurs – Free Pattern Modifications

Advertising

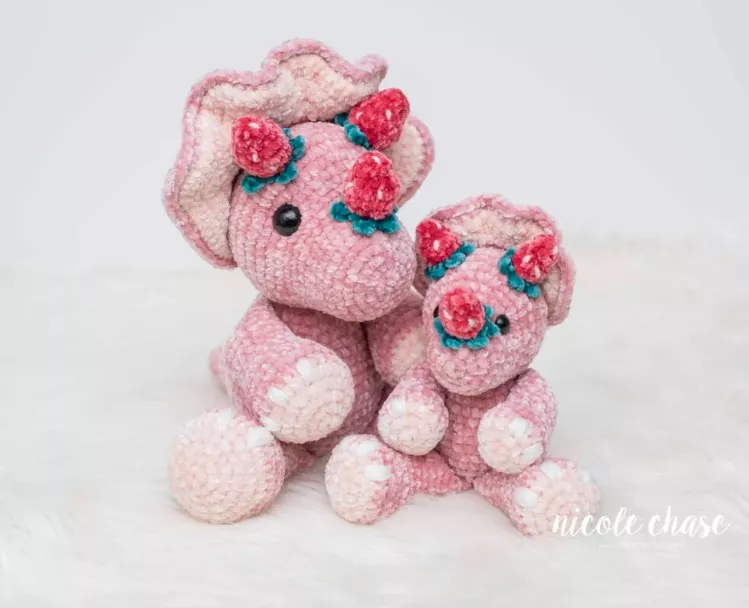
Here’s a Candy Corn Dinosaur free crochet pattern modification idea that combines the fun of dinosaurs with the seasonal charm of candy corn! This modified version of a dinosaur pattern can be made in the classic candy corn color scheme of yellow, orange, and white. It’s perfect for Halloween or as a quirky decoration.

Materials:

Abbreviations:


Body (Yellow, Orange, White)

Step 1: Make the body in sections (using candy corn colors).

  1. Start with Yellow Yarn (bottom of the body):
    • Round 1: Make a magic ring and work 6 sc into the ring. (6)
    • Round 2: Inc in each stitch around. (12)
    • Round 3: (Sc in next stitch, inc) around. (18)
    • Round 4: (Sc in next 2 stitches, inc) around. (24)
    • Round 5: (Sc in next 3 stitches, inc) around. (30)
    • Round 6-8: Sc in each stitch around. (30)
    • Round 9: (Sc in next 3 stitches, dec) around. (24)
    • Round 10: (Sc in next 2 stitches, dec) around. (18)
    • Round 11: (Sc in next stitch, dec) around. (12)
    • Round 12: Dec around. (6)
    • Stuff the body lightly with fiberfill and FO, leaving a long tail for sewing.
  2. Change to Orange Yarn (middle part of the body):
    • Round 1: Join the orange yarn to the last stitch of the yellow part.
    • Round 2: Inc in each stitch around. (12)
    • Round 3: (Sc in next stitch, inc) around. (18)
    • Round 4: (Sc in next 2 stitches, inc) around. (24)
    • Round 5-7: Sc in each stitch around. (24)
    • Round 8: (Sc in next 2 stitches, dec) around. (18)
    • Round 9: (Sc in next stitch, dec) around. (12)
    • Round 10: Dec around. (6)
    • Stuff the body slightly and FO, leaving a long tail for sewing.
  3. Switch to White Yarn (top part of the body):
    • Round 1: Join white yarn and work 6 sc into the ring. (6)
    • Round 2: Inc in each stitch around. (12)
    • Round 3: (Sc in next stitch, inc) around. (18)
    • Round 4: (Sc in next 2 stitches, inc) around. (24)
    • Round 5-7: Sc in each stitch around. (24)
    • Round 8: (Sc in next 2 stitches, dec) around. (18)
    • Round 9: (Sc in next stitch, dec) around. (12)
    • Round 10: Dec around. (6)
    • FO and leave a long tail to sew onto the rest of the body.

Tail

  1. Yellow Yarn:
    • Round 1: Make a magic ring and work 6 sc into the ring. (6)
    • Round 2: Inc in each stitch around. (12)
    • Round 3: Sc in each stitch around. (12)
    • Round 4: (Sc in next stitch, dec) around. (8)
    • Round 5: Sc in each stitch around. (8)
    • Round 6: (Sc in next stitch, dec) around. (6)
    • Round 7: Dec around. (3)
    • FO, leaving a long tail for sewing.

Legs (Make 4)

  1. Yellow Yarn:
    • Round 1: Make a magic ring and work 6 sc into the ring. (6)
    • Round 2: Inc in each stitch around. (12)
    • Round 3-5: Sc in each stitch around. (12)
    • FO and leave a long tail for sewing. Lightly stuff each leg before attaching.

Arms (Make 2)

  1. Yellow Yarn:
    • Round 1: Make a magic ring and work 6 sc into the ring. (6)
    • Round 2: Inc in each stitch around. (12)
    • Round 3-4: Sc in each stitch around. (12)
    • FO and leave a long tail for sewing. Lightly stuff the arms before attaching.

Head (Yellow Yarn)

  1. Round 1: Make a magic ring and work 6 sc into the ring. (6)
  2. Round 2: Inc in each stitch around. (12)
  3. Round 3: (Sc in next stitch, inc) around. (18)
  4. Round 4: (Sc in next 2 stitches, inc) around. (24)
  5. Round 5-7: Sc in each stitch around. (24)
  6. Round 8: (Sc in next 2 stitches, dec) around. (18)
  7. Round 9: (Sc in next stitch, dec) around. (12)
  8. Round 10: Dec around. (6)
  9. Stuff the head lightly and FO, leaving a long tail for sewing.

Assembly:

  1. Attach the head to the body: Position the head on top of the body and sew it securely.
  2. Sew on the legs: Attach the legs to the bottom of the body, ensuring they are evenly spaced.
  3. Sew on the arms: Attach the arms to the sides of the body.
  4. Sew on the tail: Attach the tail to the back of the body.
  5. Attach the white part to the top of the body: Position the white top part onto the orange section and sew it on.

Optional Details:

Final Touches:

Your Candy Corn Dinosaur is now ready to join the fun of Halloween or any candy-themed occasion! Enjoy your adorable creation!

FREE PATTERN HERE

Advertising