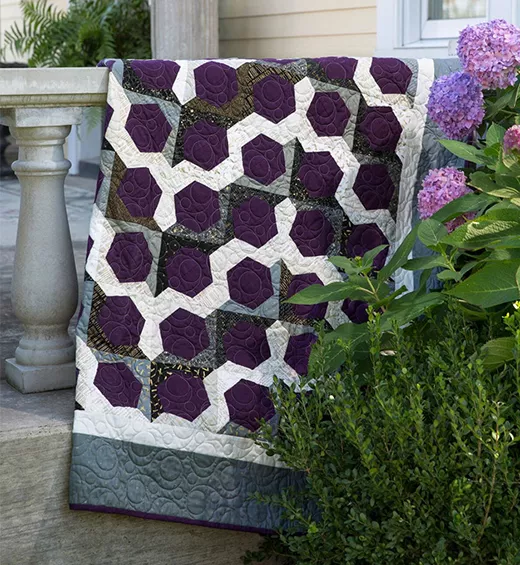
How to Make a Fabric Christmas Tree: Step-by-Step Tutorial

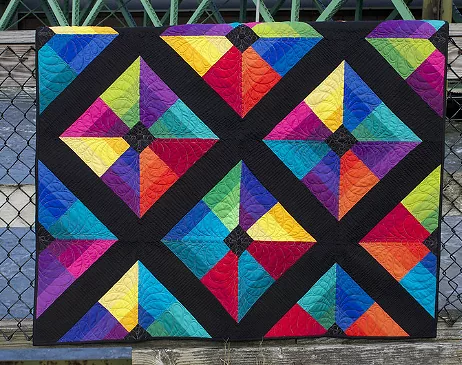
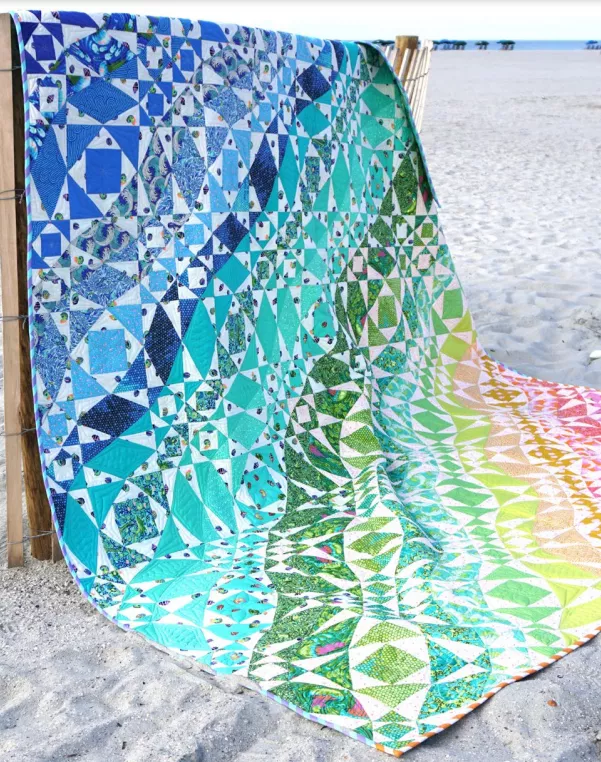
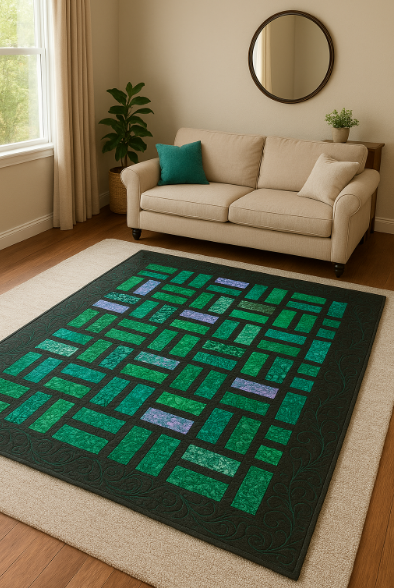
The art of stained glass, with its vibrant colors and intricate patterns, has inspired artisans to recreate this beauty in different forms, such as quilts. In the image, we see a stained glass quilt that combines shades of green and purple in a geometric design, standing out against a dark and elegant background, harmoniously integrated into a cozy space with a sofa and plant.
In this article, we’ll guide you step by step through creating your own stained glass quilt inspired by this image, using a free pattern. We’ll explore everything from choosing the materials to assembling it, highlighting how this fusion of stained glass and quilt creates a unique and welcoming piece.
Materials needed include:
– **Colored Fabrics**: Choose fabrics in shades of dark green and purple, as shown in the image, to replicate the vibrant palette. Add variations for depth.
– **Printed Pattern**: Print the chosen pattern to guide cutting and assembly.
– **Background Fabric**: Choose a black or dark fabric to highlight the patterns, similar to the one in the image.
– **Sewing Machine and Thread**: Use a reliable sewing machine and thread that matches the colors of the fabrics.
– **Scissors and Pins**: Essential for cutting and pinning the fabrics.
– **Quilted Blanket**: Choose a blanket that adds volume and comfort.
– **Quilting Thread**: A thicker thread for finishing.
### Color and Style Selection
Color choice is key to replicating the look of the image. Prioritize dark greens and purples, creating contrasts that mimic the stained glass effect. For a personal touch, add complementary tones, but maintain harmony. The geometric pattern of the quilt in the image suggests a structured style, ideal for modern or cozy spaces like the one shown.
### Assembling the Stained Glass Quilt
Follow these steps to assemble your quilt:
1. **Cutting the Fabric**: Use the pattern to cut the fabric into rectangles, leaving a seam allowance, as seen in the design in the image.
2. **Organization and Arrangement**: Place the pieces on the background fabric, adjusting them until you achieve a visual balance similar to the one in the photo.
3. **Temporary Fixation**: Pin to hold everything in place.
4. **Sewing the Elements**: Sew the pieces together following the pattern, using matching thread.
5. **Quilting**: Join the layers using quilting, adding texture around the patterns, as in the border of the image.
### A Fusion of Traditions: Stained Glass and Quilt
The stained glass quilt combines the majesty of stained glass, which transforms light into art, with the comfort of quilts, symbols of home and affection. Inspired by the image, this piece combines the spirituality of stained glass with the practicality of cozy decor, creating a functional and artistic addition to your space.