
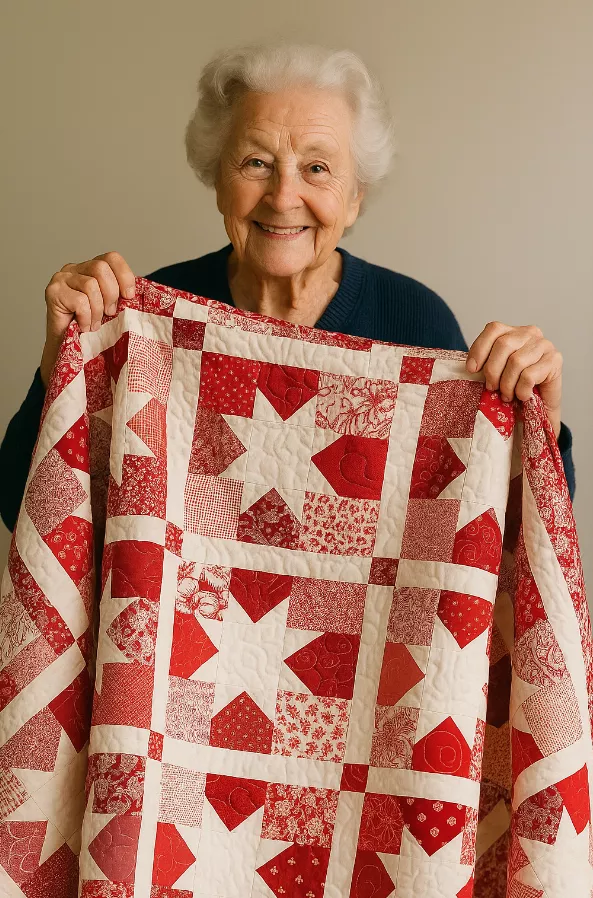
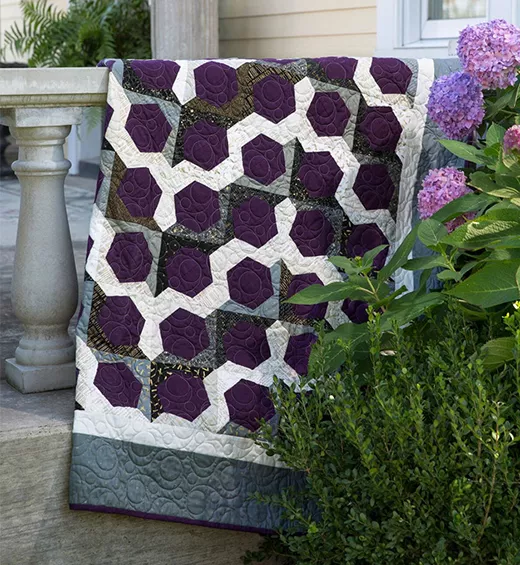
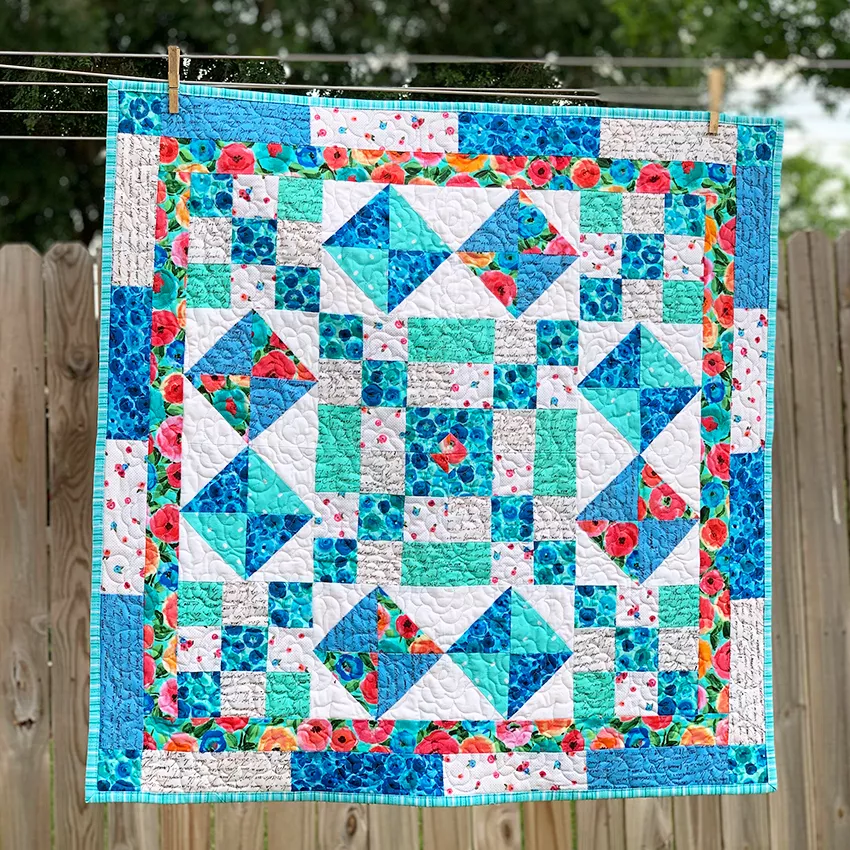
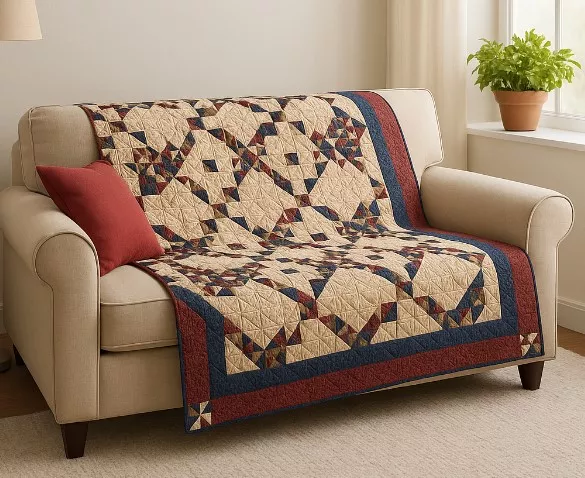
Patchwork quilts are unique pieces, full of charm and tradition. They combine colorful fabrics in different shapes, creating delightful geometric patterns that make any room cozier and more cheerful. In this article, you will learn step by step how to make a quilt similar to the one in the image, which uses white frames to highlight small colorful squares.
This tutorial is perfect both for beginners who want to start in the world of quilting and for those who already have experience and are looking for a new project.

See also other free patterns here ➡ 📲🧵🧶
Materials Needed
Before starting, it’s important to gather all the materials:
-
100% cotton fabrics in various colors and prints (for the colorful squares).
-
White or neutral-toned fabric (for the base and frames).
-
Fabric for the backing (can be plain or printed).
-
Batting or quilt-specific padding (for filling).
-
Sewing thread (preferably cotton or strong polyester).
-
Quilting thread (can match the fabric color or be contrasting).
-
Sewing machine.
-
Fabric scissors.
-
Rotary cutter and cutting mat (optional but very helpful).
-
Patchwork ruler.
-
Pins or sewing clips.
-
Iron.
Measurements and Planning
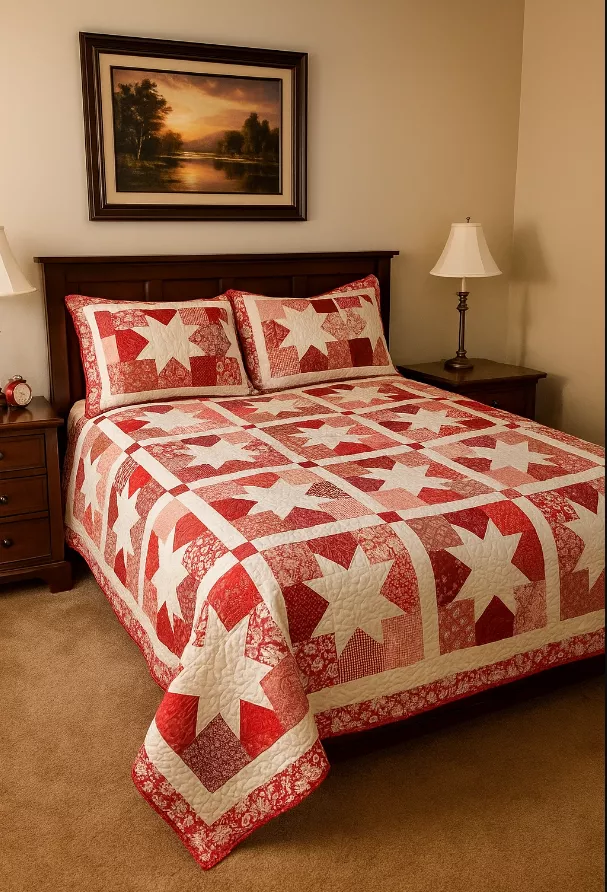
The quilt in the image is made up of large white squares surrounded by frames of small colorful squares.
To plan yours:
-
Each white square can measure, for example, 20 cm x 20 cm (8” x 8”).
-
The frames are made of small squares of 5 cm x 5 cm (2” x 2”), including seam allowance.
-
You can adjust the size according to your bed: twin, full, queen, or king.
See also other free patterns here ➡ 📲🧵🧶
Step-by-Step Assembly
1. Choosing and Cutting the Fabrics
-
Wash and iron the fabrics before starting to prevent future shrinkage.
-
Cut the colorful squares to the desired size (5 cm x 5 cm).
-
Cut the white squares (20 cm x 20 cm).
-
Cut extra white strips for the outer borders if you want to enlarge the quilt.
📌 Tip: Use a variety of colorful fabrics to create a cheerful and vibrant effect.
2. Assembling the Blocks
-
Start by assembling the colorful frames around the white squares.
-
For each block, you will need:
-
4 rows of colorful squares (top, bottom, left, and right).
-
-
First, sew the squares into strips (e.g., 5 squares in a row).
-
Then attach the strips to the white square, forming the complete frame.
-
Press each seam with an iron to keep the block flat.
📌 Tip: Keep the seam allowances all going in the same direction to make alignment easier.
3. Joining the Blocks
-
After assembling several blocks, lay them on the floor or a large table to visualize the quilt layout.
-
Align the colorful frames so they connect and create a grid pattern.
-
Sew the blocks into horizontal rows.
-
Then join the rows to form the complete quilt top.
-
Press again with the iron to set all the seams.
4. Preparing the “Sandwich”
-
Now prepare the three layers of the quilt:
-
Spread the backing fabric on the floor, right side down.
-
Place the batting on top.
-
Position the quilt top (patchwork) over the batting, right side up.
-
-
Align the layers well and secure with pins or temporary adhesive spray.
📌 Tip: Start pinning from the center toward the edges to avoid fabric wrinkles.
5. Quilting (Decorative Stitching)
-
Quilting is the step that joins the three layers and gives the quilt a finished look.
-
Choose the type of quilting: straight (simpler) or free-motion (more artistic).
-
For this quilt, straight quilting around the white squares and colorful frames emphasizes the pattern beautifully.
-
Sew slowly, removing pins as you go.
6. Finishing with Binding
-
Cut strips of fabric 6 cm (2.5”) wide to make the binding.
-
Join the strips until you have enough length to go around the entire quilt.
-
Fold in half lengthwise and press with an iron.
-
Sew the binding around the quilt, securing front and back.
-
Finish with hand-sewn invisible stitches on the backing for a perfect finish.
Customizations
-
Colors and prints: You can vary the colorful fabrics to create different effects. Pastel tones make the quilt delicate, while vibrant colors bring joy.
-
Square size: Smaller squares result in more detailed work.
-
Creative quilting: Try designs like waves, flowers, or diagonal lines.
Estimated Time
-
Beginners: 1–2 weeks (working gradually).
-
Experienced quilters: 3–5 days.
Benefits of Making Your Own Quilt
-
Creates a unique and personalized piece.
-
Relaxing and therapeutic activity.
-
Allows reuse of fabric scraps.
-
Adds a handmade, cozy touch to any room.
Conclusion
Making a patchwork quilt with colorful frames may seem like a big challenge at first, but with organization, patience, and love for crafting, the result is simply wonderful. With each square sewn, you are creating not just a bed cover, but a work of art full of memories and meaning.
Whether for your own home, as a gift for someone special, or even to sell, this quilt is a project that combines tradition, beauty, and functionality.

