
How to Make a Fabric Christmas Tree: Step-by-Step Tutorial

How to Make a Fan Cover Quilt: A Simple and Creative Step-by-Step Guide
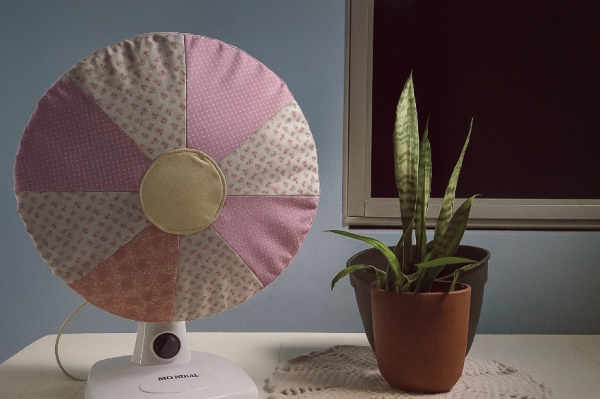
Have you ever thought about turning your fan into a decorative object? Besides protecting it from dust, a fabric fan cover adds a special charm to any room. In this guide, I’ll teach you how to create a fan cover quilt using simple fabrics, even if you don’t have much sewing experience.
Materials Needed
2 or more patterned cotton fabrics (you can use scraps)
Sewing thread in the same color as the fabric
Needle or sewing machine
Scissors
Tape measure
1 cm wide elastic
Paper for pattern (optional)
Step-by-Step
1. Measure the fan
Measure the diameter of your fan blade.
Add 5 cm all around for the seam allowance and elastic.
2. Cut the fabrics
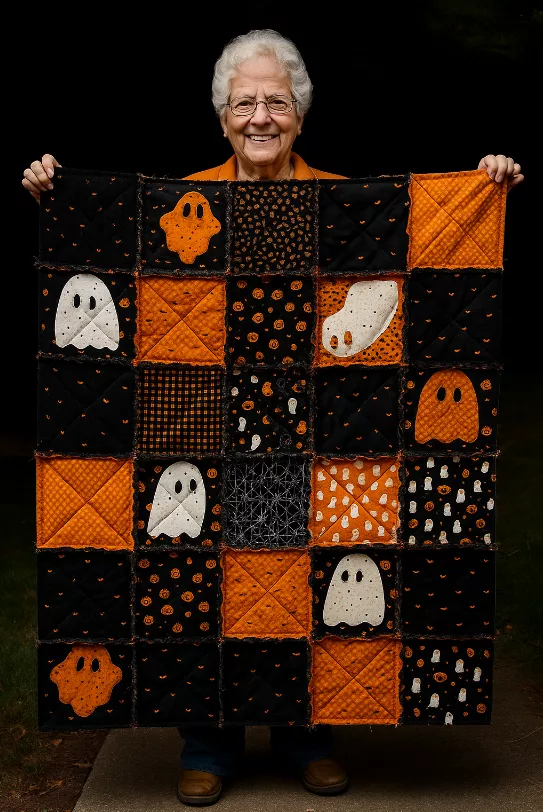
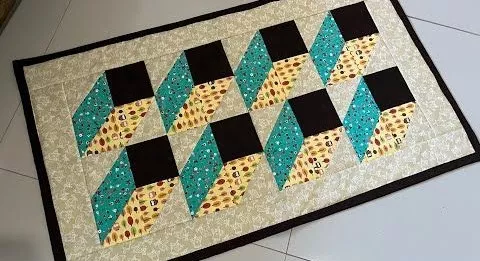
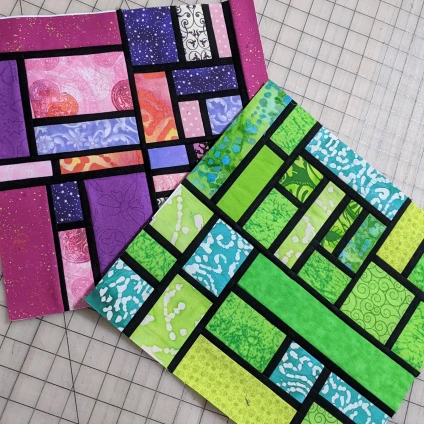
You can make the cover in triangular pieces (like a patchwork quilt) or use a single circle of fabric.
If you choose the quilt style, cut 8 to 10 equal triangular pieces and vary the fabrics to create the design.
3. Assemble the circle
Sew the triangles together side by side until you form a complete circle.
Iron the seams to set them firmly.
4. Finish the cover
Fold the edge of the circle inward about 2 cm.
Sew a seam, leaving a space for the elastic.
5. Insert the elastic
Measure the outline of the fan and cut the elastic slightly smaller than this measurement.
Place the elastic inside the sewn edge using a hairpin or safety pin.
Sew the opening closed with a simple stitch.
6. Finish the cover
Fit the cover over the fan.
Adjust it so it’s taut, covering the entire blade.
Done! Now your fan is protected and even more beautiful.
Extra Tips
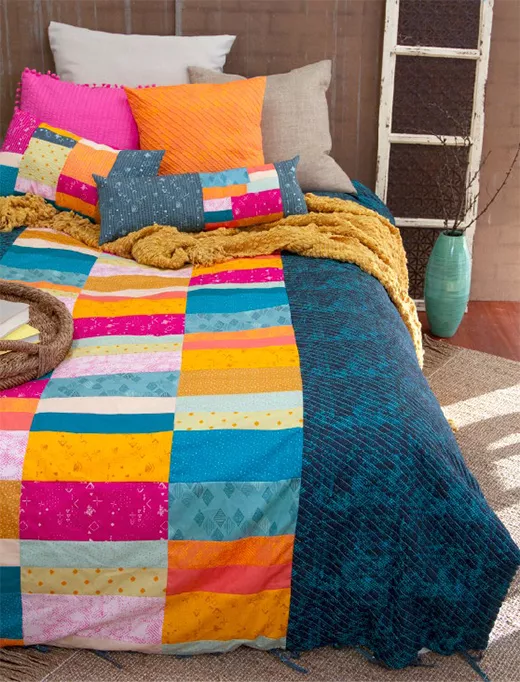
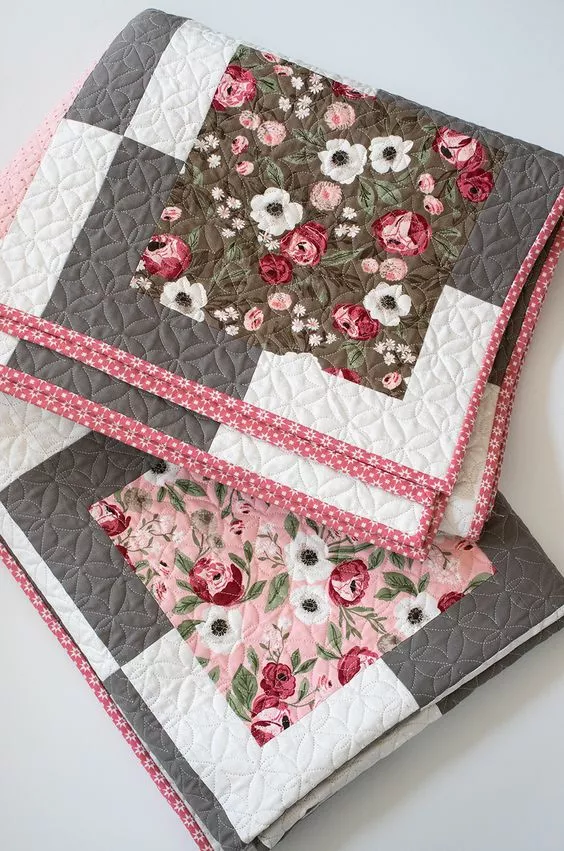
Use lightweight, breathable fabrics (cotton is ideal).
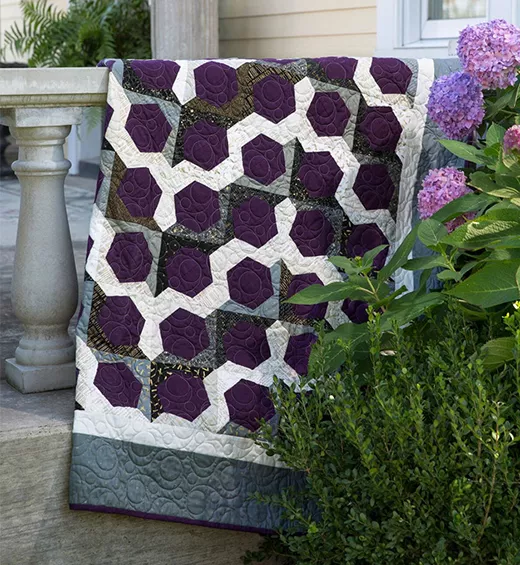
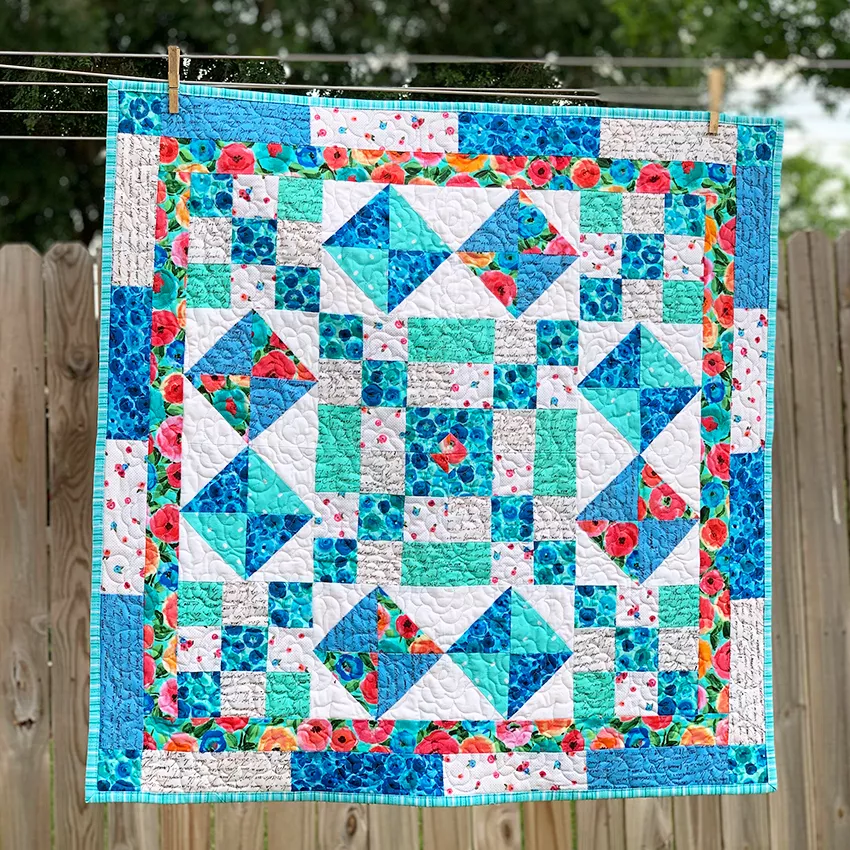
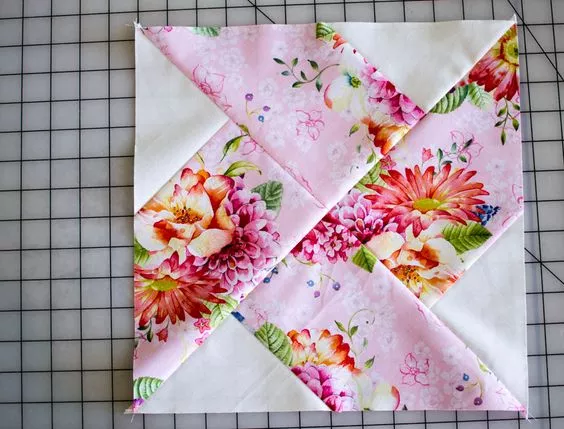
Combine different prints for a patchwork effect.
Make extra covers to change throughout the week.