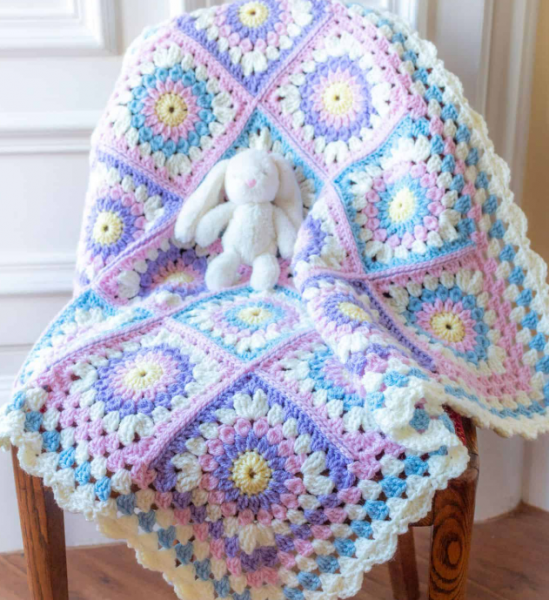
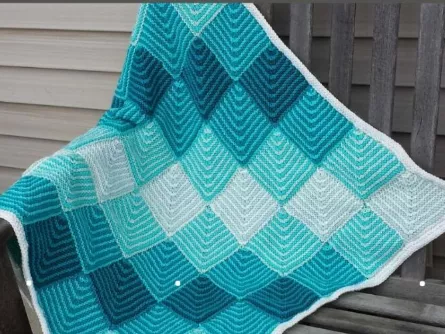
How to Crochet a Granny Square Blanket: A Step-by-Step Guide
Crocheting a granny square blanket is a timeless and versatile project that can be customized with endless color combinations and patterns. Each granny square is made separately, then joined together to form a larger blanket. Whether you’re a beginner or an experienced crocheter, this project is fun and allows for plenty of creativity.
In this guide, I’ll walk you through the basics of making a granny square blanket, from creating the individual squares to joining them together to form the final blanket. By the end, you’ll have a beautiful, cozy granny square blanket ready for use or to give as a gift!
Materials Needed:
- Yarn: You can use any yarn you prefer, but a worsted weight yarn (Category 4) works best for a soft, comfortable blanket. Choose a yarn that is gentle on the skin, such as acrylic or cotton yarn, especially if the blanket is for a baby.
- For a standard-sized blanket (approximately 36″ x 48″), you’ll need about 1200-1500 yards of yarn (depending on your choice of yarn and the number of squares).
- Crochet Hook: A 5mm (H-8) crochet hook works well with worsted weight yarn. Be sure to check the yarn label for the recommended hook size.
- Tapestry Needle: For weaving in the ends once the blanket is finished.
- Scissors: To trim your yarn when needed.
- Stitch Markers: Optional, but helpful to keep track of your rounds, especially for beginners.
Step-by-Step Instructions for Making a Granny Square Blanket:
Step 1: Make the Granny Square
A basic granny square is made up of clusters of double crochet (dc) stitches, forming a square shape. Here’s how to make one granny square:
Granny Square Instructions (make 20-30 squares depending on the size you want)
- Create a Foundation Ring:
- Start with a slip knot and chain 4. Join the chains with a slip stitch to form a ring (this is called a “magic ring”).
- Round 1 – First Round:
- Chain 3 (this counts as the first double crochet).
- Work 2 double crochets (dc) into the center of the ring (this forms the first cluster).
- Chain 2 to make a corner.
- Work another 3 double crochets into the center of the ring.
- Chain 2 again for the next corner.
- Repeat this pattern (3 dc, chain 2) for a total of four corners. You should have four groups of 3 double crochets and 4 chain-2 spaces.
- Join the round with a slip stitch into the top of the first chain 3.
- Round 2 – Second Round:
- Slip stitch into the next chain-2 space.
- Chain 3 (counts as your first double crochet).
- Work 2 double crochets into the same chain-2 space.
- Chain 2 to form a corner.
- Work 3 double crochets into the same chain-2 space (this forms your first corner of the second round).
- In the next chain-2 space, work 3 double crochets (no corner here).
- In the next chain-2 space, work 3 double crochets and chain 2 to make the next corner.
- Repeat around the square. You should now have 2 clusters of 3 dc on each side and 4 corners (with 2 dc clusters in each corner).
- Join the round with a slip stitch into the top of the first chain 3.
- Round 3 (Optional):
- To increase the size of your granny square, repeat the same steps as round 2, but now you’ll work 3 double crochet clusters along the sides (instead of 2) and chain-2 in each corner space.
- Continue adding rounds until your square reaches your desired size. Most blankets use 3-5 rounds, but you can make them as big or small as you like.
Step 2: Weave in Ends
- Once you have finished each granny square, use a tapestry needle to weave in any loose ends. This ensures your squares will stay secure once they are joined together.
Step 3: Joining the Granny Squares
Once you have crocheted all your granny squares, the next step is to join them together to form the blanket. There are several methods for joining granny squares, but the most common and easiest is the slip stitch join.
Slip Stitch Join:
- Place Two Squares Together: Arrange your squares in the pattern you want for your blanket. Lay them out with the right sides facing each other (the side you want showing).
- Join Squares:
- Insert your hook into the first stitch of the square on the left and the first stitch of the square on the right (both at the edges you want to join).
- Yarn over, and pull through both stitches.
- Then yarn over again and pull through the loop on the hook to make a slip stitch.
- Continue this method across the edge, joining each square with a slip stitch, until you’ve joined the two squares along that side.
- Join All Squares:
- Repeat the process to join all squares together. For large blankets, you may join squares in horizontal and vertical rows.
- Once the rows are complete, you can join them together by repeating the same slip stitch method along the vertical edges.
- Fasten Off: Once all squares are joined, trim any loose yarn ends and weave them in.
Step 4: Add a Border (Optional)
After all your squares are joined, you can add a border around the entire blanket to give it a finished look.
- Round 1: Start with a slip stitch in any corner and chain 1. Work single crochet (sc) stitches evenly around the entire blanket, placing 3 single crochets in each corner to keep the edges smooth.
- Round 2 (Optional): For a bit of extra flair, you can add a second round of double crochet (dc) around the border. This will create a raised, textured border.
- Picot Border (Optional): For a delicate finish, you can add a picot border by chaining 3 and then slip stitching into the first chain, creating small, decorative peaks along the border.
Once the border is complete, fasten off the yarn and weave in any loose ends.
Conclusion
Crocheting a granny square blanket is a fun, creative project that lets you mix and match colors and stitch patterns. Whether you use a traditional color scheme or go for a bright, modern look, the possibilities are endless.
By following the steps above, you’ll have a cozy, personalized blanket that’s perfect for snuggling up or giving as a heartfelt gift. Enjoy the process, and happy crocheting!
FREE PATTERN


